
Dive into the world of custom shelving and unlock the power to transform your storage needs into a masterpiece of functionality and style. How to build custom shelves is not just a project; it’s an opportunity to unleash your creativity and add a touch of personalization to your home.
Let’s embark on a journey where every shelf tells a story and every piece of decor finds its perfect place.
From planning and design to construction and finishing, this guide will be your trusted companion, empowering you to build custom shelves that not only meet your practical requirements but also elevate the aesthetics of your space.
Materials and Tools
Building custom shelves requires a thoughtful selection of materials and tools to ensure durability and a professional finish. Let’s explore the essentials:
Materials, How to build custom shelves
- Wood:Choose the wood type based on your desired shelf design and weight capacity. Solid woods like oak, maple, and mahogany offer strength and longevity, while engineered woods like plywood and MDF are more affordable and suitable for lighter shelves.
- Hardware:Shelf brackets, screws, nails, and anchors are essential for securely mounting the shelves to the wall. Select hardware that matches the weight capacity of your shelves and the type of wall they will be mounted on.
Tools
- Cutting tools:A circular saw or miter saw is necessary for cutting the wood to size. A jigsaw can be useful for intricate cuts.
- Assembly tools:A drill and screwdriver are essential for assembling the shelves. Clamps help hold the pieces together during assembly.
- Finishing tools:Sandpaper or a sanding block is used to smooth the edges and surfaces of the shelves. A wood filler can be applied to fill any gaps or imperfections.
Design and Planning

Before embarking on the construction phase, meticulous planning is paramount to ensure the shelves meet your specific needs and complement the aesthetics of your space.
Begin by determining the dimensions, shape, and style of the shelves. Consider the available space, the items you intend to store, and your personal preferences. Sketch out a design that incorporates these elements, paying attention to the height, width, and depth of the shelves.
Measuring and Marking
Once you have finalized the design, it’s time to measure and mark the location of the shelves on the wall or desired surface. Use a level to ensure the shelves are perfectly aligned both horizontally and vertically. Mark the positions of the shelf brackets or supports with a pencil or chalk.
Construction Techniques: How To Build Custom Shelves
Building custom shelves requires precise cutting, assembly, and joinery techniques to ensure stability and durability. This section provides step-by-step instructions for cutting the wood, assembling the shelves, and securing them using different joinery methods. Additionally, it discusses methods for leveling and aligning the shelves during installation.
Cutting the Wood
- Measure and mark the wood according to the design plan.
- Use a circular saw or miter saw to cut the wood to the desired lengths and angles.
- Sand the edges of the cut wood to smooth any rough edges.
Assembling the Shelves
Assemble the shelves using the chosen joinery method, such as butt joints, dado joints, or pocket hole joinery.
- Butt joints: Simply align the edges of the wood and secure them with nails or screws.
- Dado joints: Create a groove (dado) in one piece of wood and a corresponding ridge on the other piece to fit together.
- Pocket hole joinery: Drill angled holes into the wood and insert pocket hole screws to secure the pieces together.
Leveling and Aligning the Shelves
Once the shelves are assembled, level and align them during installation using a level and measuring tape.
- Place the level on the shelf and adjust the height of the supports until the bubble is centered.
- Use a measuring tape to ensure the shelves are evenly spaced and aligned vertically and horizontally.
- Secure the shelves to the wall or supports using screws or nails.
Finishing and Customization

The final step in building custom shelves is finishing and customization. This involves sanding, staining, painting, and adding decorative elements to enhance the appearance and functionality of the shelves.
Sanding smooths out any rough edges or imperfections in the wood. Staining or painting adds color and protection to the shelves. You can also customize the shelves with decorative elements such as trim, molding, or paint effects to match your personal style or décor.
Mounting and Display Options
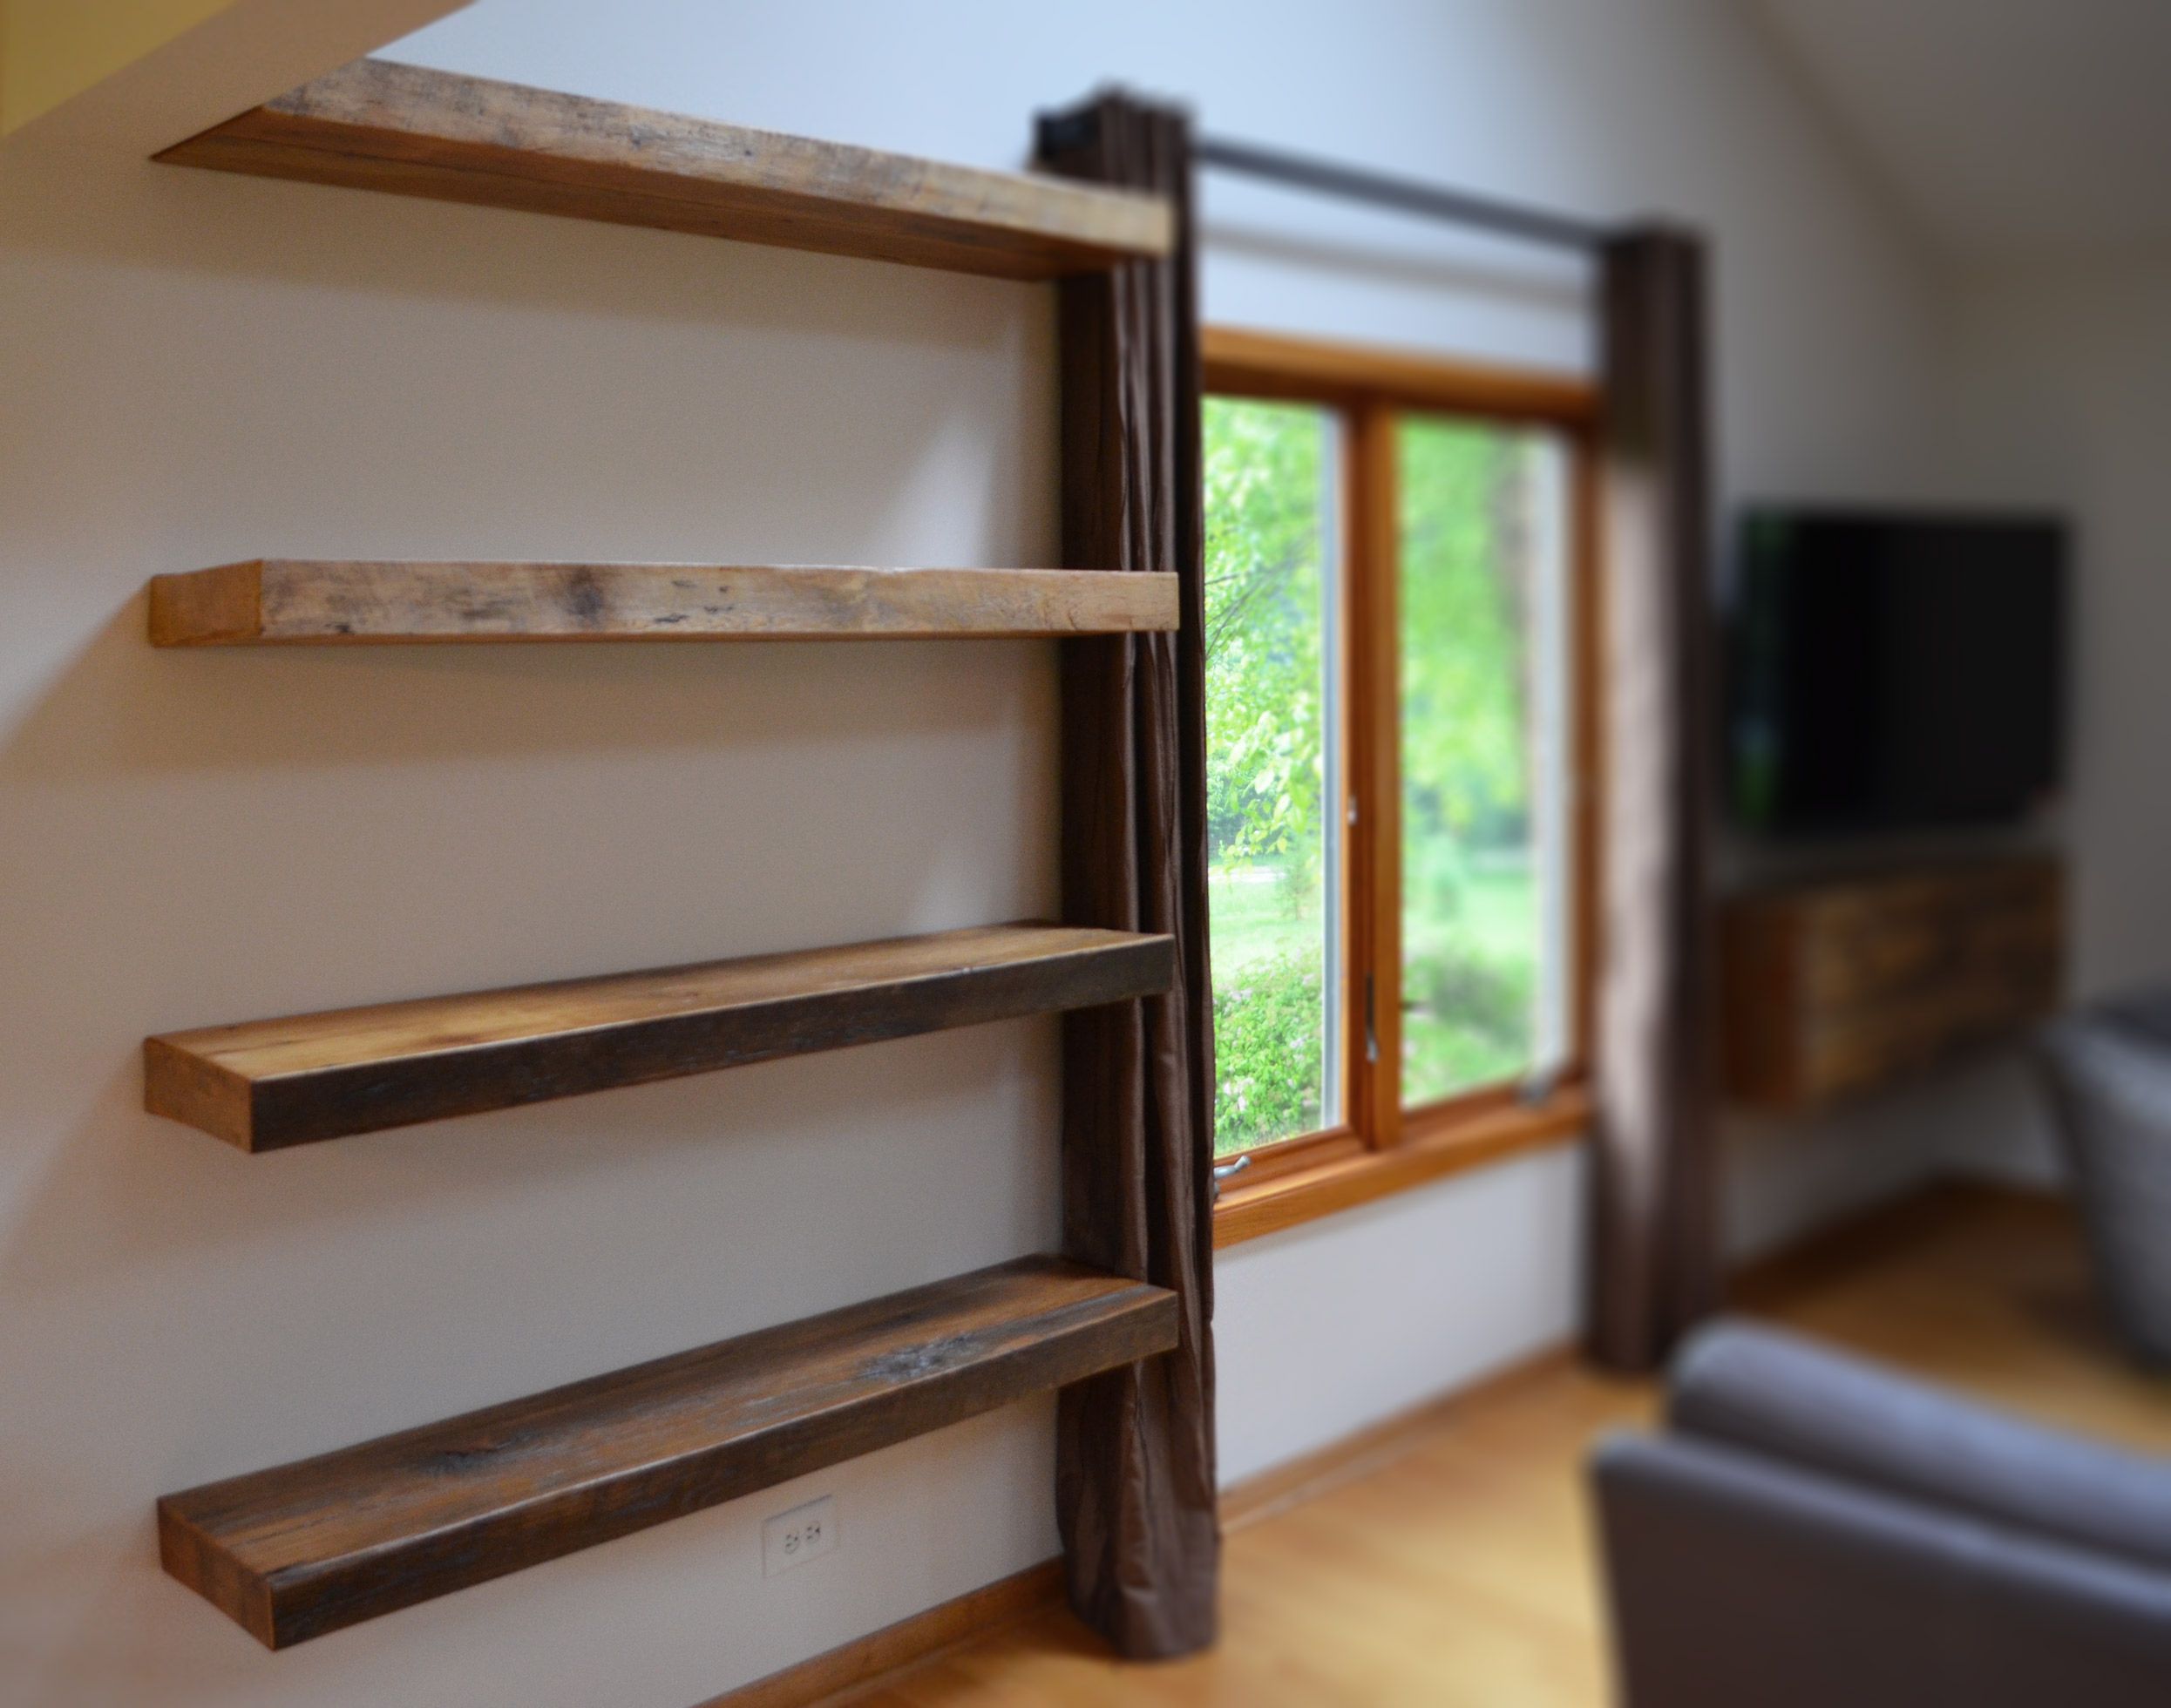
There are various options for mounting and displaying items on your custom shelves. Brackets and hooks provide support and stability for heavier objects, while floating shelves create a more modern and minimalist look. You can also use a combination of mounting methods to accommodate different types of items and create a visually appealing display.
Final Review

As you complete your custom shelves, a sense of accomplishment will wash over you. Not only have you created functional storage solutions, but you’ve also added a touch of your own style to your home. Remember, the journey of building custom shelves is as rewarding as the final product.
So, embrace the process, let your creativity flow, and enjoy the satisfaction of transforming your storage needs into a work of art.
