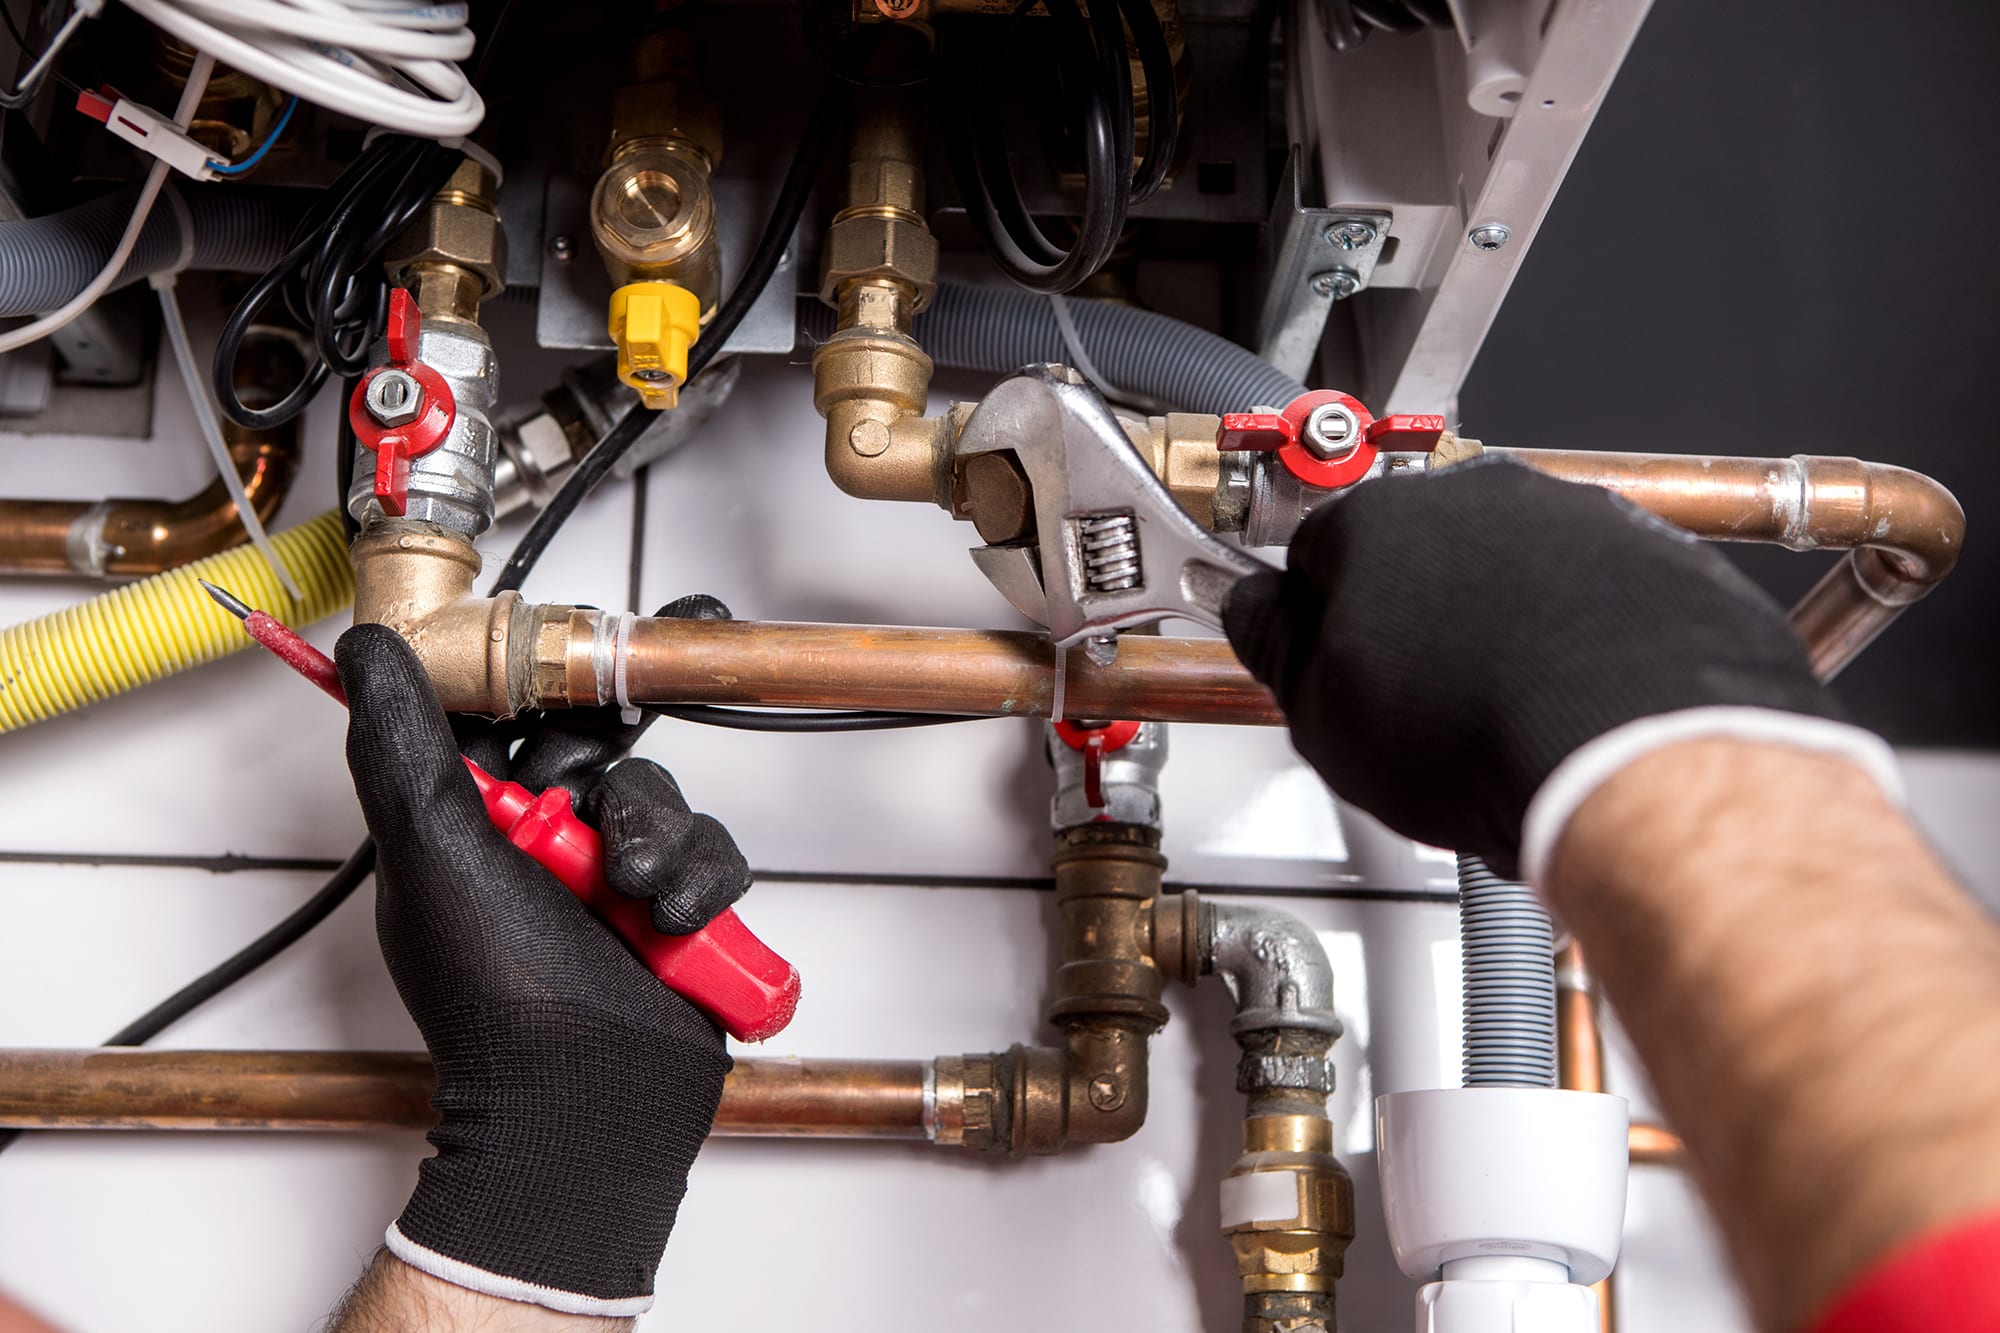
Plumbing valves and fittings are the unsung heroes of our homes, ensuring a seamless flow of water throughout our daily routines. In this comprehensive guide, we delve into the intricate world of these essential components, empowering you with the knowledge to select, install, troubleshoot, and maintain your plumbing system with confidence.
From understanding the different types of valves and their functions to mastering the art of fitting installation, this guide provides a thorough exploration of plumbing valves and fittings. Along the way, we’ll uncover common problems and their solutions, emphasizing the importance of regular maintenance to keep your plumbing system running smoothly.
Types of Plumbing Valves
Plumbing valves are essential components of any plumbing system, controlling the flow of water and other fluids. There are various types of valves, each designed for specific purposes and applications.
The following table compares the features and applications of common valve types:
| Valve Type | Features | Applications |
|---|---|---|
| Ball Valve |
|
|
| Gate Valve |
|
|
| Check Valve |
|
|
| Butterfly Valve |
|
|
Examples
Some specific examples of plumbing valves include:
- Ball valves: Used in sinks, toilets, and showers
- Gate valves: Used in main water lines and fire hydrants
- Check valves: Used in pumps and water heaters
- Butterfly valves: Used in large-diameter pipes for flow control
Selection and Installation of Plumbing Fittings
Selecting and installing plumbing fittings is crucial for ensuring a reliable and leak-free plumbing system. Factors to consider when choosing fittings include:
- Material:Common materials include copper, PVC, CPVC, and PEX, each with its advantages and disadvantages.
- Size:Fittings must match the diameter of the pipes they connect.
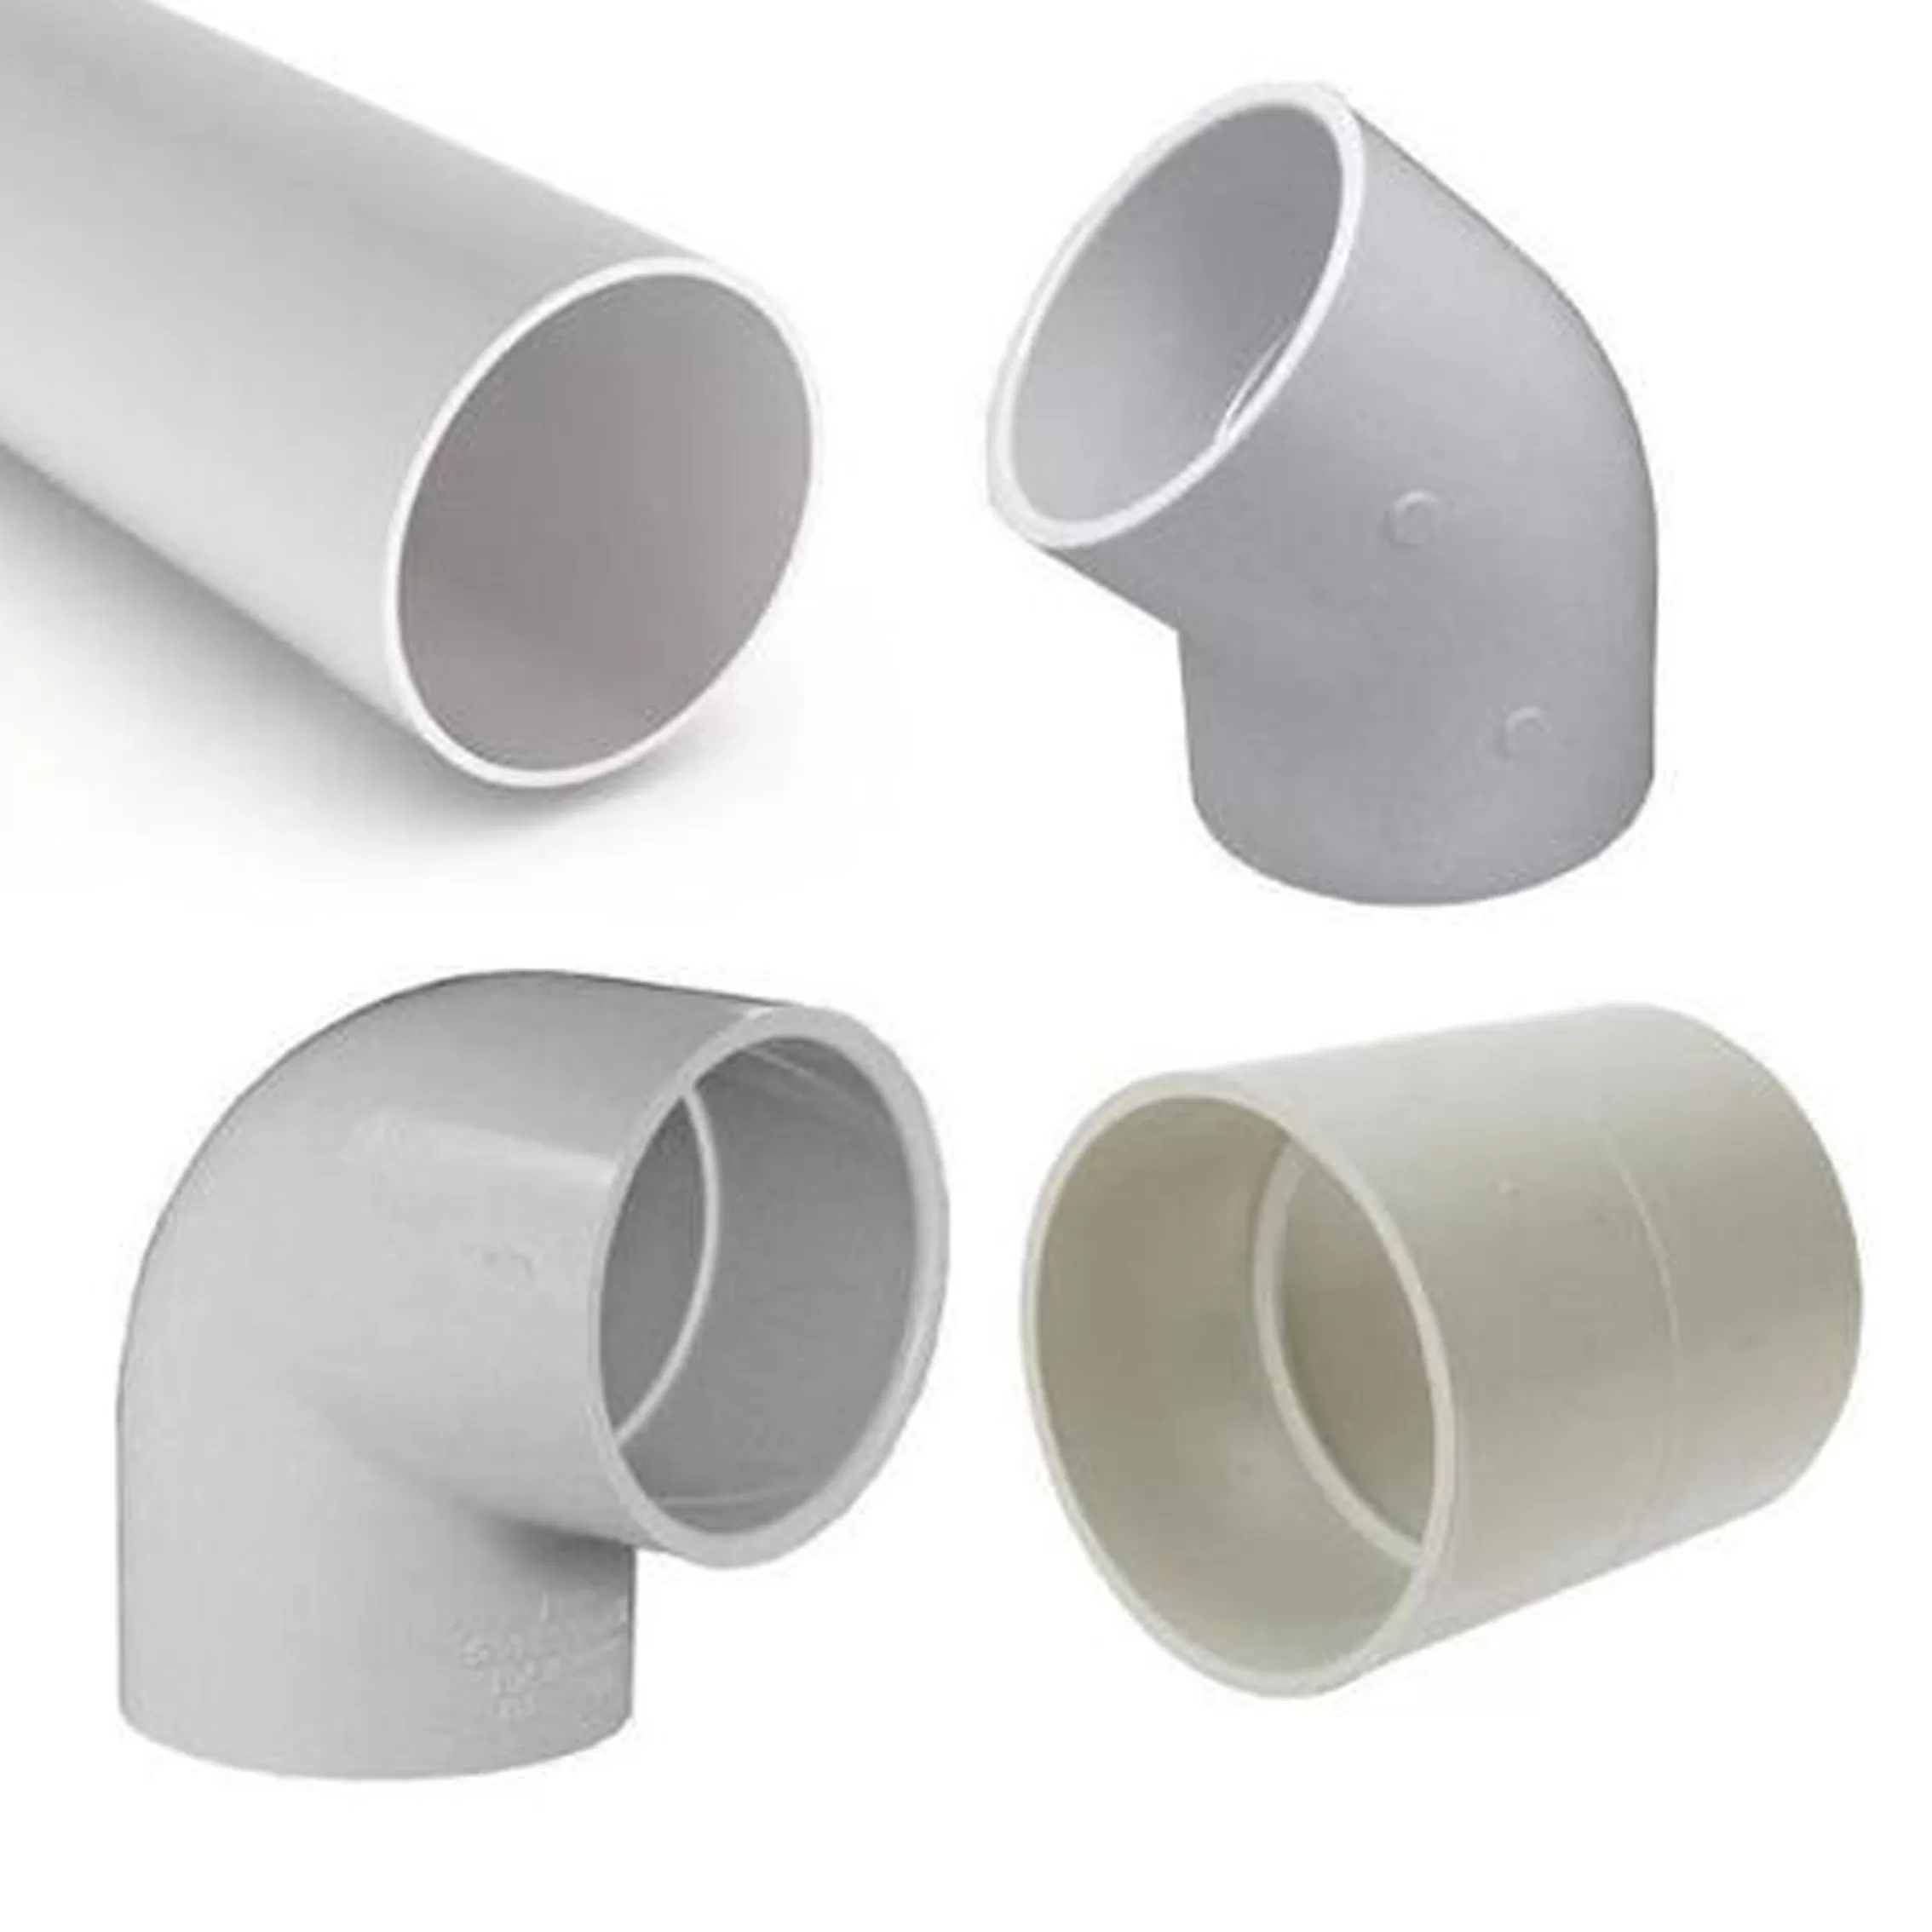
- Type:Different types of fittings serve specific purposes, such as elbows, tees, couplings, and unions.
- Pressure rating:Fittings must be rated for the maximum water pressure in the system.
- Compatibility:Fittings should be compatible with the pipes and other components they connect.
Proper Installation of Plumbing Fittings
Proper installation of plumbing fittings is essential for a leak-free and reliable system. Follow these steps:
- Prepare the pipes:Cut the pipes to the desired length and clean the ends using a deburring tool or sandpaper.
- Apply sealant:Apply a thin layer of pipe sealant or thread sealant to the male threads of the fitting.
- Tighten the fitting:Hand-tighten the fitting onto the pipe, then use a wrench to tighten it further. Avoid overtightening.
- Check for leaks:Turn on the water supply and check for leaks at the fitting connections.
Common Mistakes to Avoid
Avoid these common mistakes during fitting installation:
- Overtightening:Overtightening can damage the fitting or pipe.
- Insufficient sealant:Failing to apply sealant can lead to leaks.
- Using the wrong sealant:Using the wrong type of sealant can compromise the seal.
- Mixing different materials:Connecting fittings made of different materials can cause galvanic corrosion.
- Installing fittings in the wrong direction:Some fittings, such as check valves, must be installed in a specific direction.
Troubleshooting Plumbing Valve and Fitting Issues

Plumbing valves and fittings are crucial components of any plumbing system, and their proper functioning is essential for maintaining a reliable water supply. However, these components can occasionally experience issues that can lead to leaks, clogs, and other malfunctions. Understanding how to troubleshoot and repair these issues can help you keep your plumbing system running smoothly.
Diagnosing and repairing plumbing valve and fitting issues involves a systematic approach that includes identifying the source of the problem, determining the cause, and implementing appropriate repair measures. The following steps Artikel the general troubleshooting process:
Identifying the Source of the Problem
- Inspect the valve or fitting for any visible signs of damage, such as cracks, leaks, or corrosion.
- Check the water pressure in the system. Excessive water pressure can put stress on valves and fittings, leading to leaks or other issues.
- Determine if the problem is isolated to a specific fixture or affects the entire plumbing system.
Determining the Cause
- If a leak is present, identify the type of valve or fitting involved (e.g., gate valve, ball valve, compression fitting).
- Check the packing nut or O-rings for wear or damage. These components are responsible for creating a watertight seal.
- Inspect the valve seat for any debris or damage that may prevent the valve from closing properly.
- For clogs, determine the location and nature of the blockage. This can be done by running water through the system and observing where the flow is restricted.
Implementing Repair Measures
- For leaks, replace worn or damaged packing nuts or O-rings.
- If the valve seat is damaged, it may need to be repaired or replaced.
- For clogs, use a drain snake or chemical drain cleaner to remove the blockage.
- If the issue persists or is complex, it is advisable to contact a licensed plumber for professional assistance.
The following table provides a summary of troubleshooting procedures for different types of valves:
| Valve Type | Troubleshooting Procedures |
|---|---|
| Gate Valve | Check packing nut, replace if worn. Inspect valve seat for debris or damage. |
| Ball Valve | Check O-rings, replace if damaged. Inspect valve seat for debris or damage. |
| Compression Fitting | Tighten packing nut, replace if necessary. Check for damaged O-rings or washers. |
Maintenance and Inspection of Plumbing Valves and Fittings

Regular maintenance and inspection of plumbing valves and fittings are crucial for ensuring the efficient and trouble-free operation of your plumbing system. By addressing minor issues early on, you can prevent costly repairs and ensure your system’s longevity.
Routine Maintenance Checklist, Plumbing valves and fittings
A routine maintenance checklist should include the following tasks:
- Cleaning:Remove dirt, debris, and mineral deposits from valves and fittings using a soft brush or cloth. Avoid using harsh chemicals or abrasive cleaners.
- Lubrication:Apply a light lubricant to moving parts, such as valve stems and handles, to reduce friction and wear.
- Pressure testing:Use a pressure gauge to test the system for leaks or pressure drops. This can help identify potential problems before they cause significant damage.
Signs of Potential Problems
If you notice any of the following signs, it’s advisable to seek professional attention:
- Leaks:Persistent leaks, even small ones, indicate a problem that requires repair.
- Unusual noises:Whistling, humming, or banging sounds from valves or fittings can indicate a malfunction or improper installation.
- Reduced water pressure:A sudden drop in water pressure can be caused by a faulty valve or fitting.
- Sticking or difficult-to-operate valves:Valves that are hard to open or close may require lubrication or repair.
By following a regular maintenance schedule and addressing potential problems promptly, you can maintain the integrity and efficiency of your plumbing valves and fittings, ensuring a trouble-free plumbing system for years to come.
Final Review

Whether you’re a seasoned homeowner or a plumbing novice, this guide serves as your trusted companion, empowering you to navigate the complexities of plumbing valves and fittings. Remember, a well-maintained plumbing system is a key ingredient for a comfortable and efficient home.
So, let’s dive right in and unlock the secrets of these essential plumbing components!
