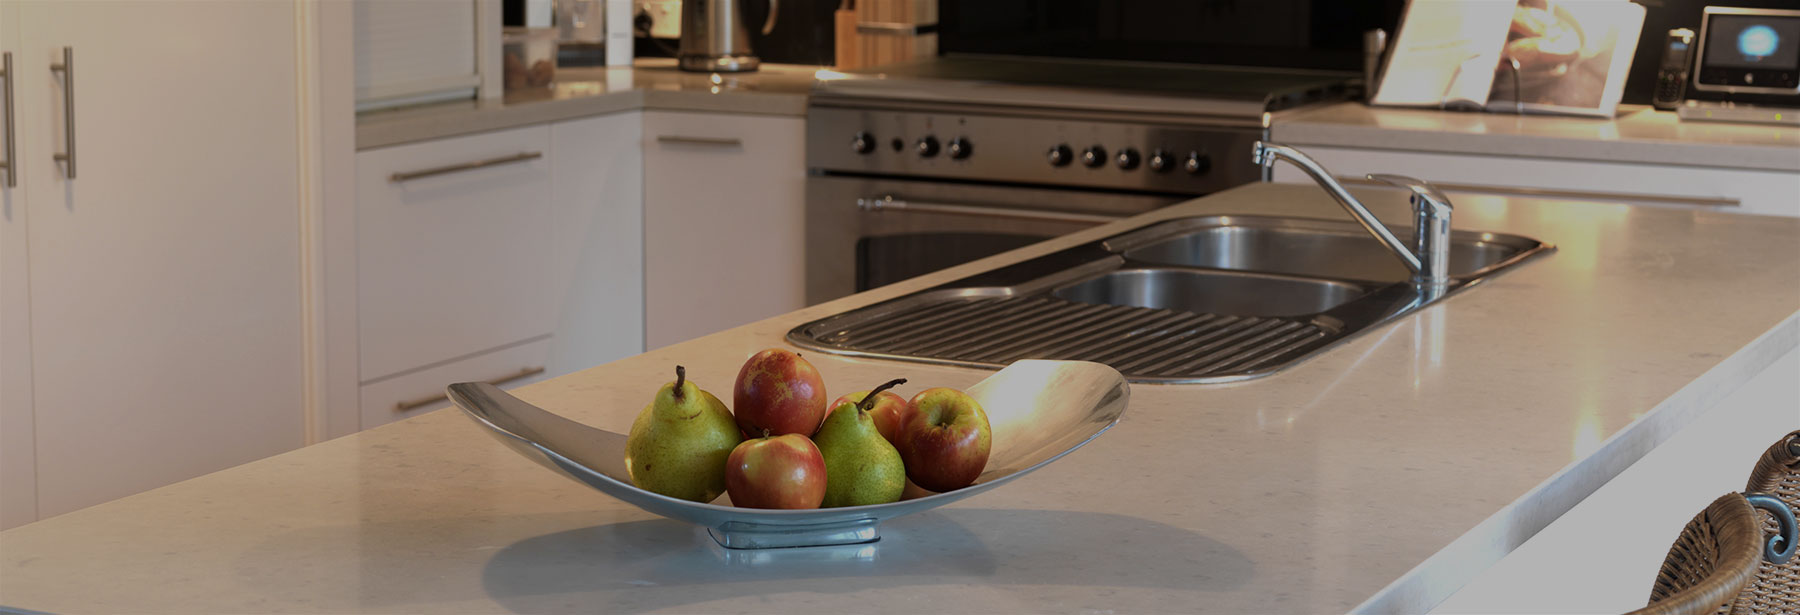
Marble countertop installation – Embark on a journey of transforming your kitchen or bathroom with the elegance of marble countertops. This comprehensive guide will lead you through every step of the installation process, ensuring a flawless finish that will elevate the aesthetics of your space.
Materials and Equipment

Marble countertops are a luxurious and durable addition to any home. They come in a variety of colors and patterns, making them a versatile choice for any design style.
The most common types of marble countertops are:
- Carrara marble: This is a white marble with gray veins.
- Calacatta marble: This is a white marble with gold veins.
- Statuario marble: This is a white marble with bold gray veins.
- Crema Marfil marble: This is a beige marble with cream veins.
- Nero Marquina marble: This is a black marble with white veins.
To install marble countertops, you will need the following tools and materials:
- A circular saw
- A miter saw
- A drill
- A hammer
- A chisel
- A trowel
- A level
- A measuring tape
- Marble adhesive
- Grout
- Sealant
It is important to take safety precautions when installing marble countertops. Wear safety glasses, gloves, and a dust mask. Be sure to work in a well-ventilated area.
Preparation and Planning
Before installing a marble countertop, thorough preparation and planning are crucial to ensure a seamless and successful outcome. This involves preparing the surface, meticulously measuring and cutting the countertop, and developing a comprehensive layout plan.
Surface Preparation
The installation surface should be level, clean, and free of any debris or irregularities. This can be achieved by using a level to check the surface and removing any obstacles or uneven areas. Cleaning the surface with a degreaser or solvent will ensure a strong bond between the countertop and the substrate.
Measurement and Cutting
- Measure the length and width of the countertop area using a measuring tape or laser level for accuracy.
- Transfer the measurements to the marble slab and mark the cutting lines using a straight edge and a marking tool.
- Use a wet saw or diamond blade cutter to cut the marble along the marked lines. Ensure that the blade is sharp and the cutting process is done slowly to prevent chipping or cracking.
Layout Planning
Creating a layout plan is essential to determine the optimal placement of the countertop and any cutouts for sinks, faucets, or other fixtures. This plan should include precise measurements, angles, and any necessary adjustments to ensure a perfect fit.
Installation Process

The installation process of a marble countertop typically involves several key steps, each requiring precision and attention to detail.
Applying Adhesive or Mortar, Marble countertop installation
Before setting the countertop in place, a layer of adhesive or mortar is applied to the base cabinets or substrate. The type of adhesive or mortar used depends on the specific type of marble and the installation method.
- Adhesive:A thin layer of adhesive is applied to both the countertop and the substrate, providing a strong bond and preventing movement.
- Mortar:A thicker layer of mortar is used to level the countertop and fill any gaps between the countertop and the substrate.
Finishing and Maintenance: Marble Countertop Installation
Sealing and finishing the marble countertop is crucial for its protection and longevity. Apply a high-quality penetrating sealer specifically designed for marble. This sealer penetrates the pores of the stone, creating a barrier against moisture and stains. Allow the sealer to cure according to the manufacturer’s instructions.
Cleaning and Maintenance
Regular cleaning is essential to maintain the beauty of your marble countertop. Use a mild dish soap solution and a soft cloth to wipe down the surface. Avoid harsh chemicals, abrasive cleaners, or acidic substances, as these can damage the marble.
Rinse thoroughly with clean water and dry with a soft cloth.
Common Issues and Solutions
* Stains:Treat stains immediately. Use a poultice made of baking soda and water. Apply the poultice to the stain and cover it with plastic wrap. Let it sit for several hours or overnight. Remove the poultice and rinse the area with clean water.
Etching
Etches are dull spots caused by acidic substances. To remove them, use a marble polishing powder or paste. Follow the manufacturer’s instructions carefully.
Scratches
Minor scratches can be buffed out using a marble polishing powder or paste. For deeper scratches, consult a professional stone restoration specialist.
Concluding Remarks
With the knowledge gained from this guide, you are now equipped to embark on the installation of your marble countertop with confidence. Remember, meticulous preparation, precision cutting, and proper installation techniques are key to achieving a stunning and durable result that will be the centerpiece of your home for years to come.
