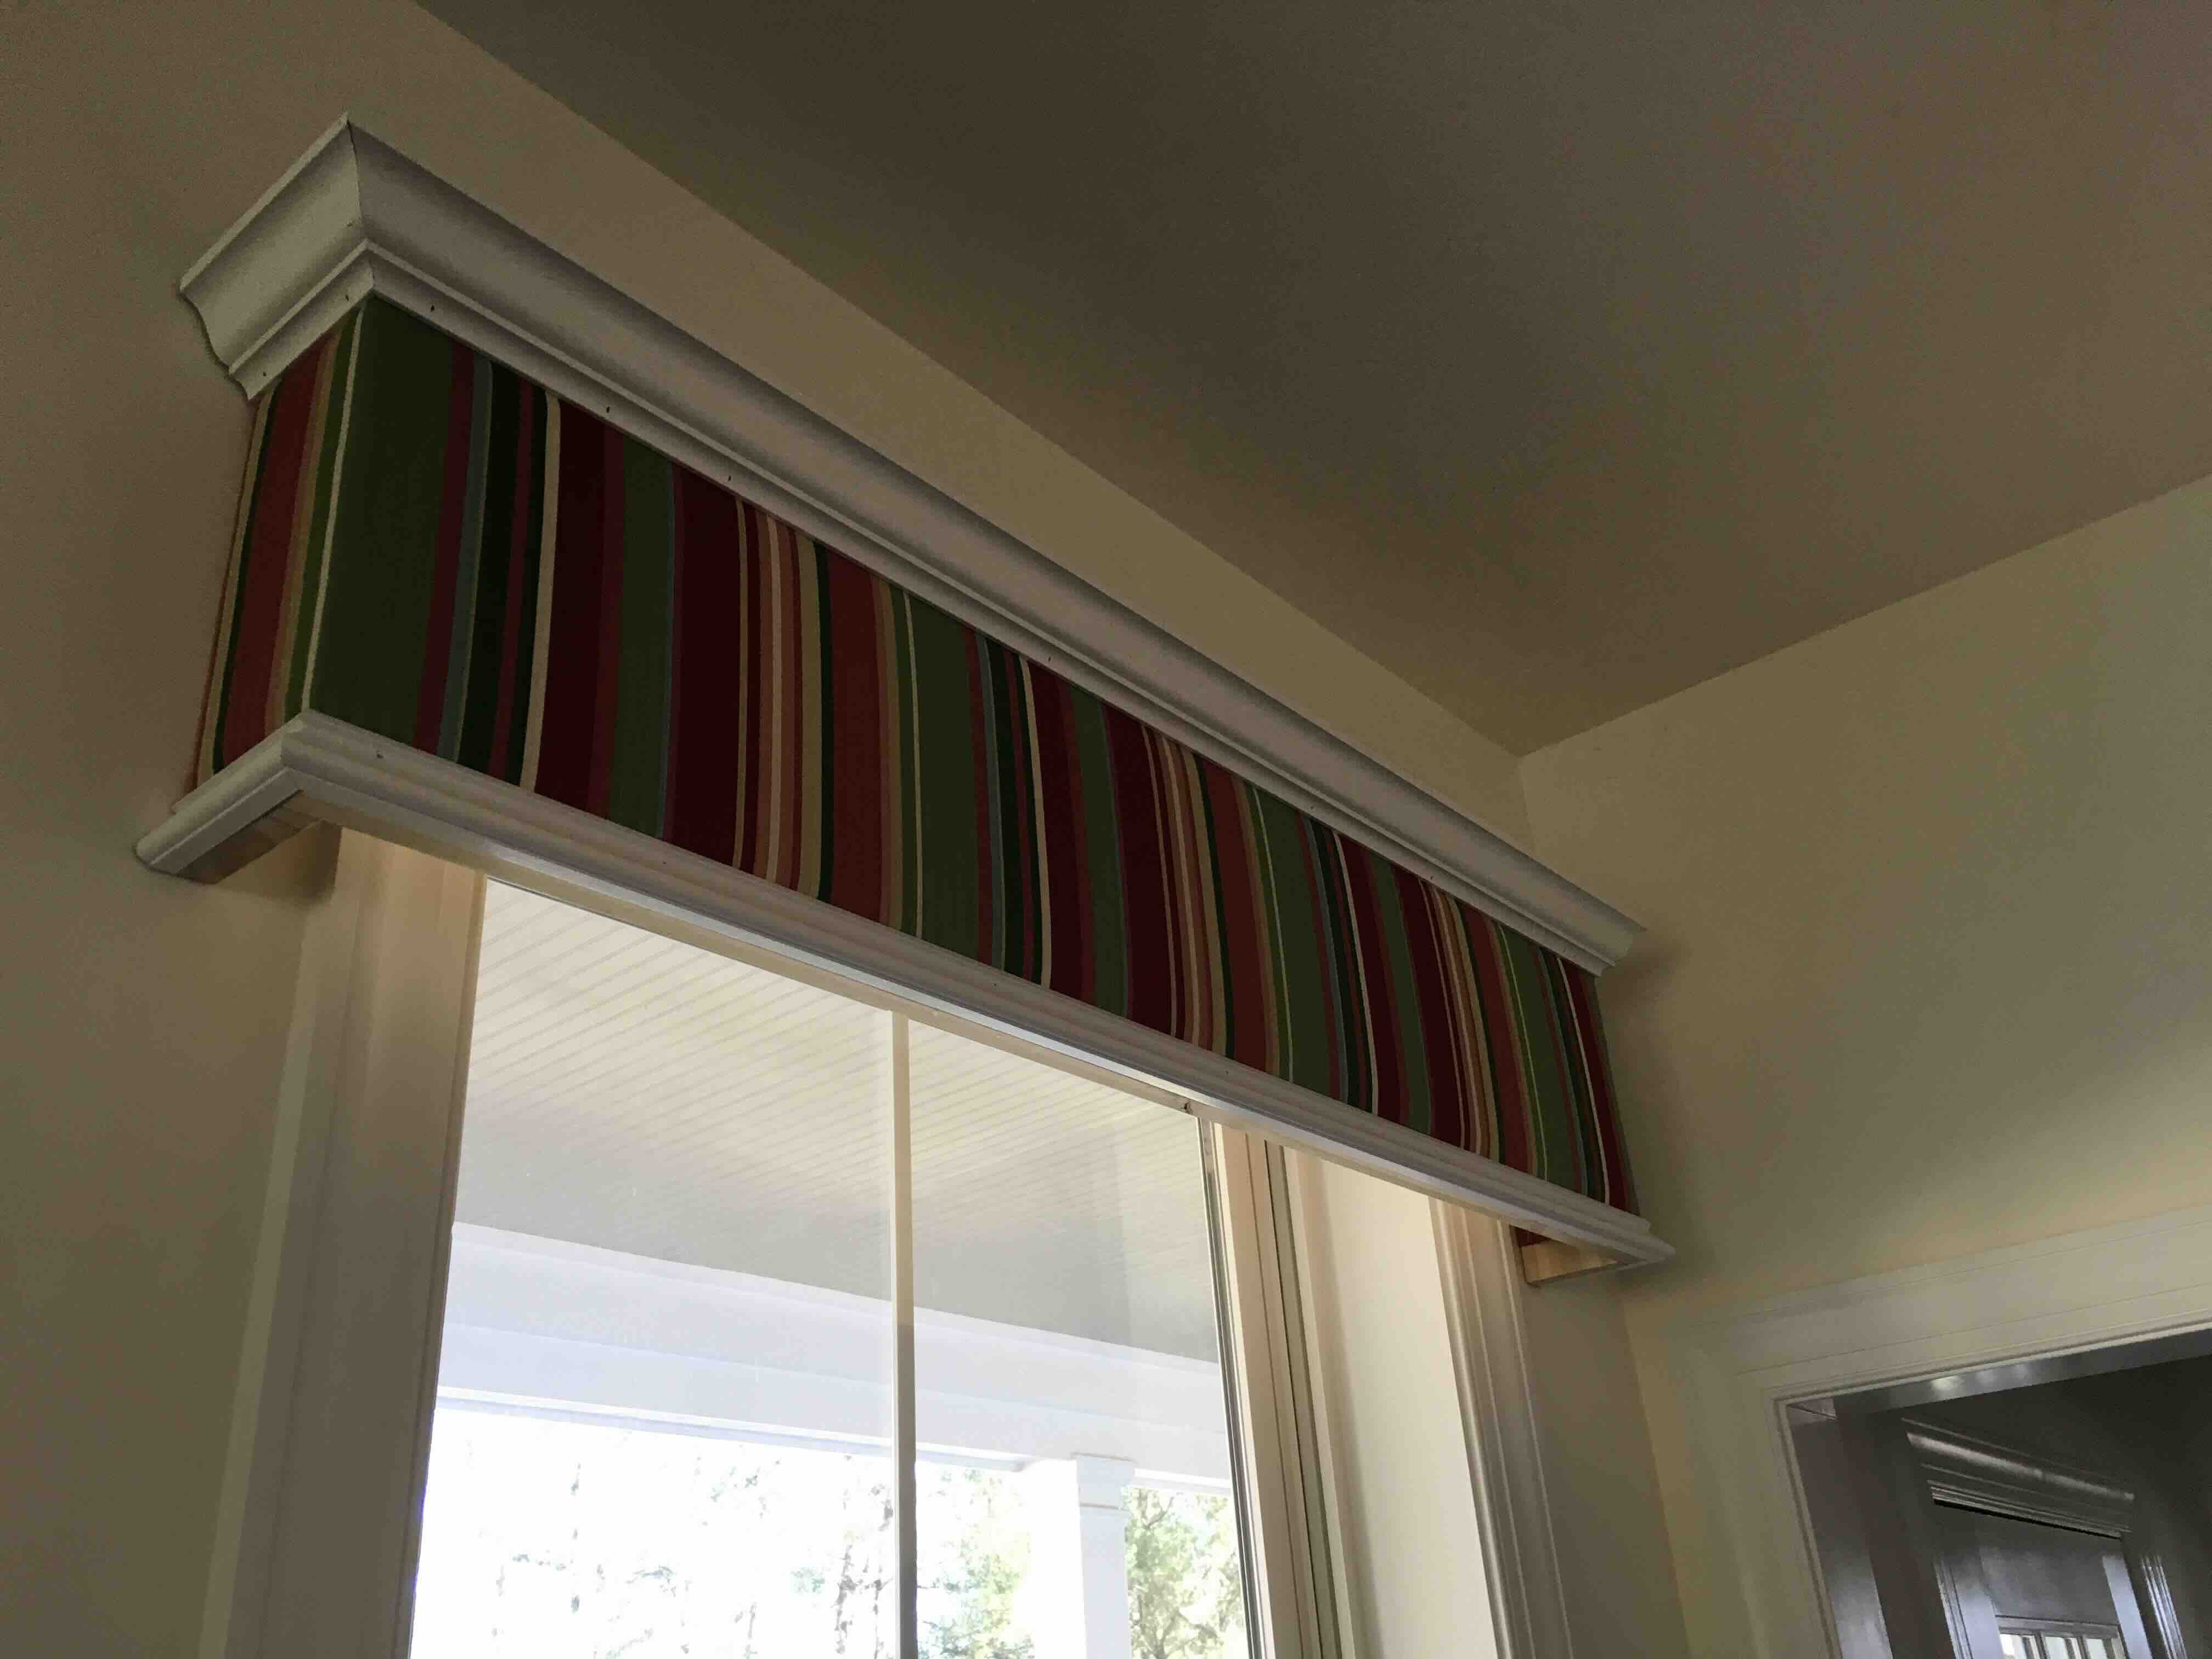
Embark on an exciting journey of window dressing with our comprehensive guide on how to make a window valance. Whether you seek to elevate the ambiance of your living room, add a touch of elegance to your bedroom, or simply enhance the functionality of your windows, this guide will equip you with the knowledge and techniques to create stunning valances that will transform your space.
Delve into the world of fabrics, explore various valance styles, and master the art of measuring, cutting, and constructing your own custom valance. With clear instructions, helpful tips, and a touch of inspiration, we’ll guide you through every step, empowering you to create beautiful and functional window treatments that will add a personal touch to your home.
Selecting the Right Fabric and Style

The fabric and style of your window valance play a crucial role in enhancing the overall aesthetic of your room. Here’s a guide to help you make the right choices:
Fabric Considerations
When selecting the fabric for your valance, consider factors such as texture, weight, and opacity. Lighter fabrics like sheer or organza allow natural light to filter through, creating a soft and airy ambiance. Heavier fabrics like velvet or damask provide more privacy and insulation, adding a touch of opulence to the room.
Valance Styles
Valances come in a variety of styles to complement different window shapes and sizes. Box valances, with their flat, tailored appearance, are suitable for contemporary or traditional settings. Scalloped valances, featuring curved edges, add a touch of femininity and elegance to any room.
Balloon valances, with their gathered fabric, create a whimsical and cozy atmosphere.
Measuring and Cutting the Fabric

Accurately measuring and cutting the fabric is crucial for a well-fitting valance. Here’s a step-by-step guide to ensure precision:
Measuring the Window
To determine the width of the valance, measure the width of the window frame, including any trim or molding. Add 6-12 inches to the measurement for overlap on each side.
For the length, measure from the top of the window frame to the desired length of the valance. Consider the height of the window and the desired coverage.
Cutting the Fabric
Once the measurements are taken, transfer them to the fabric. Use a measuring tape and a fabric marker or chalk to mark the dimensions accurately.
When cutting the fabric, use sharp scissors or a rotary cutter and a straight edge to ensure clean and precise cuts. Cut along the marked lines, leaving a small margin for hemming or finishing.
Creating the Valance Structure: How To Make A Window Valance
With the fabric selected and cut, it’s time to construct the basic structure of the valance. This involves sewing the fabric together and attaching it to a hardware system.
The most common valance structure is a simple rectangle, but there are many variations that can be created by adding pleats, gathers, or other embellishments. The specific construction method will depend on the desired style and the type of fabric being used.
Sewing the Fabric
To sew the fabric together, start by folding the top and bottom edges of the fabric over by about 1 inch and pressing them flat. Then, fold the sides of the fabric over by about 1/2 inch and press them flat.
This will create a clean, finished edge.
Next, sew the sides of the fabric together using a straight stitch. Be sure to leave a small opening at the top for inserting the rod or other hardware.
Attaching the Hardware
Once the fabric is sewn together, it’s time to attach it to the hardware. There are several different types of hardware that can be used, including:
- Rods
- Brackets
- Rings
- Clips
The type of hardware used will depend on the weight of the fabric and the desired style. For lightweight fabrics, such as sheer or voile, a simple rod or brackets will suffice. For heavier fabrics, such as velvet or brocade, you may need to use rings or clips to support the weight.
Installing the Valance

Mounting your valance is the final step in completing your window treatment. Follow these steps for a secure and stylish installation.
Mounting Options
Depending on your window and desired style, you can choose from various mounting methods:
- Inside Mount:The valance is installed inside the window frame, creating a cozy and framed effect.
- Outside Mount:The valance is mounted outside the window frame, extending the window’s apparent size and providing more coverage.
- Ceiling Mount:The valance is suspended from the ceiling, creating a dramatic and elegant look.
Hardware and Tools, How to make a window valance
The hardware and tools you need will vary based on the mounting method. Common items include:
- Screws or nails
- Drill or screwdriver
- Curtain rod or brackets
- Level
- Measuring tape
Final Review
As you complete your window valance, take a moment to admire the transformation it brings to your space. The interplay of fabric, texture, and design will create a unique and inviting atmosphere that reflects your personal style. Whether you opt for a simple and elegant design or a more elaborate and dramatic one, your custom-made valance will become a cherished element of your home decor, adding both beauty and functionality to your windows.
