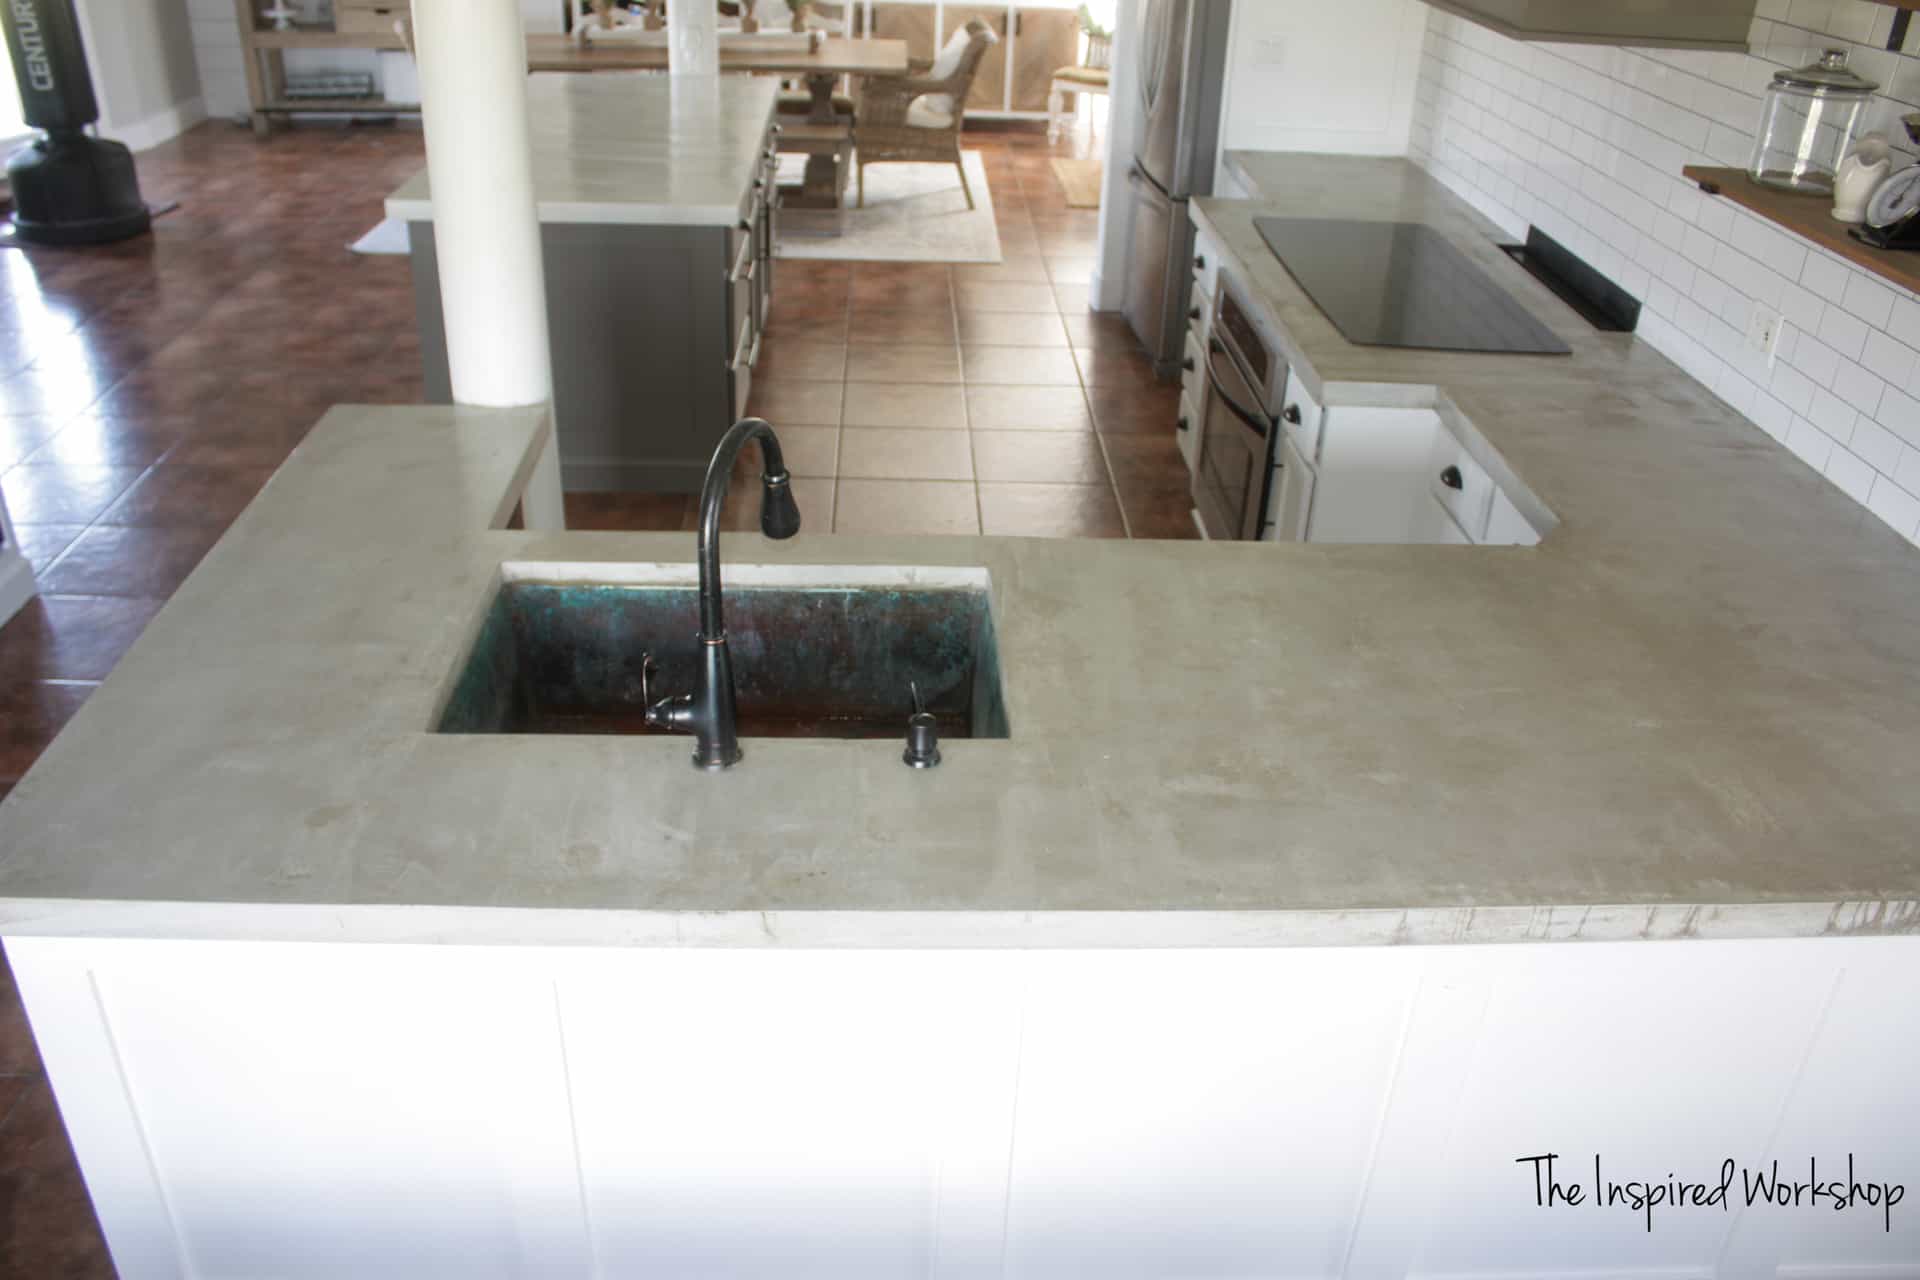
How to make a concrete countertop – Dive into the world of concrete countertops with our comprehensive guide, where we’ll unveil the secrets to crafting durable, stylish surfaces that will elevate your home’s aesthetic.
From gathering essential materials to mastering finishing techniques, we’ll guide you through every step, ensuring you create a stunning countertop that will endure for years to come.
Materials and Tools
Creating a concrete countertop requires a combination of materials and tools to ensure durability and aesthetics. The primary component is cement, which acts as the binding agent. Aggregates, such as sand and gravel, provide strength and texture. Pigments can be added to achieve the desired color.
Selecting the right materials is crucial. For outdoor countertops, a higher-strength concrete mix is recommended to withstand weather conditions. Decorative aggregates, such as glass or pebbles, can enhance the visual appeal.
Essential Tools
- Concrete mixer
- Trowel
- Edger
- Sealer
- Safety gear (gloves, mask, glasses)
Preparing the Form

Creating a sturdy and level surface for your concrete countertop requires a well-crafted form. This involves precise measurements and proper reinforcement to ensure the countertop’s structural integrity.
To begin, determine the desired dimensions of the countertop and transfer them onto a flat surface. Use a chalk line or straight edge to mark the perimeter and any cutouts for sinks or faucets.
Materials for the Form
- Melamine-coated plywood (18 mm or thicker)
- 2×4 lumber for framing
- Wood screws
- Level
- Clamps
Building the Form
Cut the plywood according to the marked dimensions and assemble the framing using 2×4 lumber. Ensure that the frame is square and level using a level and clamps. Secure the plywood to the frame using wood screws, countersinking them slightly below the surface.
For cutouts, use a jigsaw or circular saw to make precise openings. Reinforce the edges of the cutouts with additional framing or plywood to prevent cracking or sagging.
Once the form is complete, check for any gaps or imperfections and seal them with caulk or tape to prevent concrete leakage.
Mixing and Pouring the Concrete

Mixing and pouring the concrete is a crucial step in creating a durable and visually appealing concrete countertop. By following the proper techniques and proportions, you can achieve a consistent and well-compacted concrete mix that will form the foundation of your countertop.
Mixing the Concrete, How to make a concrete countertop
To mix the concrete, you will need the following ingredients:
- Portland cement
- Sand
- Gravel
- Water
The proportions of these ingredients will vary depending on the desired strength and appearance of the concrete. For a general-purpose countertop, a mix ratio of 1 part cement to 2 parts sand to 3 parts gravel is a good starting point.
Once you have gathered your ingredients, mix them together in a large bucket or concrete mixer. Start by adding the cement and sand to the mixer and mix until they are well combined. Then, add the gravel and mix until all of the ingredients are evenly distributed.
Finally, slowly add water to the mix while continuing to stir. The amount of water you need will vary depending on the consistency of the concrete. The concrete should be wet enough to be workable but not so wet that it is runny.
Pouring the Concrete
Once the concrete is mixed, it is time to pour it into the form. Before pouring the concrete, make sure that the form is level and that all of the surfaces are clean and free of debris.
To pour the concrete, start by pouring it into the corners of the form. Then, use a trowel or screed to spread the concrete evenly over the entire surface. As you spread the concrete, make sure to compact it by tapping it with a hammer or vibrating it with a concrete vibrator.
Once the concrete is poured and compacted, use a trowel to smooth the surface. You can also use a sponge or brush to create a textured finish.
Allow the concrete to cure for at least 24 hours before removing the form. During this time, keep the concrete moist by covering it with plastic or burlap and spraying it with water regularly.
Finishing and Curing
Once the concrete has been poured, it is crucial to finish and cure it properly to achieve the desired aesthetics and durability. This involves several techniques that enhance the surface quality and ensure optimal strength.
The finishing process typically begins with troweling, which involves smoothing the surface using a trowel. This helps to remove any imperfections and create a uniform finish. Depending on the desired texture, additional techniques such as polishing or grinding may be employed to achieve a glossy or honed surface.
Sealing
After finishing, sealing the concrete countertop is essential to protect it from moisture, stains, and wear. Various sealants are available, each offering different levels of protection and durability. Choosing the appropriate sealant depends on the specific usage and desired outcome.
Curing
Proper curing is vital for concrete to develop its full strength and durability. This involves maintaining a moist environment for a specific period, typically 7 to 28 days. During this time, the concrete undergoes a chemical reaction known as hydration, where water reacts with cement to form a strong crystalline structure.
To ensure proper curing, the concrete surface can be covered with plastic sheeting, wet burlap, or curing compounds. These methods help to retain moisture and prevent premature drying, which can weaken the concrete.
Final Wrap-Up: How To Make A Concrete Countertop

With careful planning, precise execution, and a touch of creativity, you can transform your kitchen or bathroom with a one-of-a-kind concrete countertop. So, let’s get started on this exciting journey and create a masterpiece that will add character and functionality to your living space.
