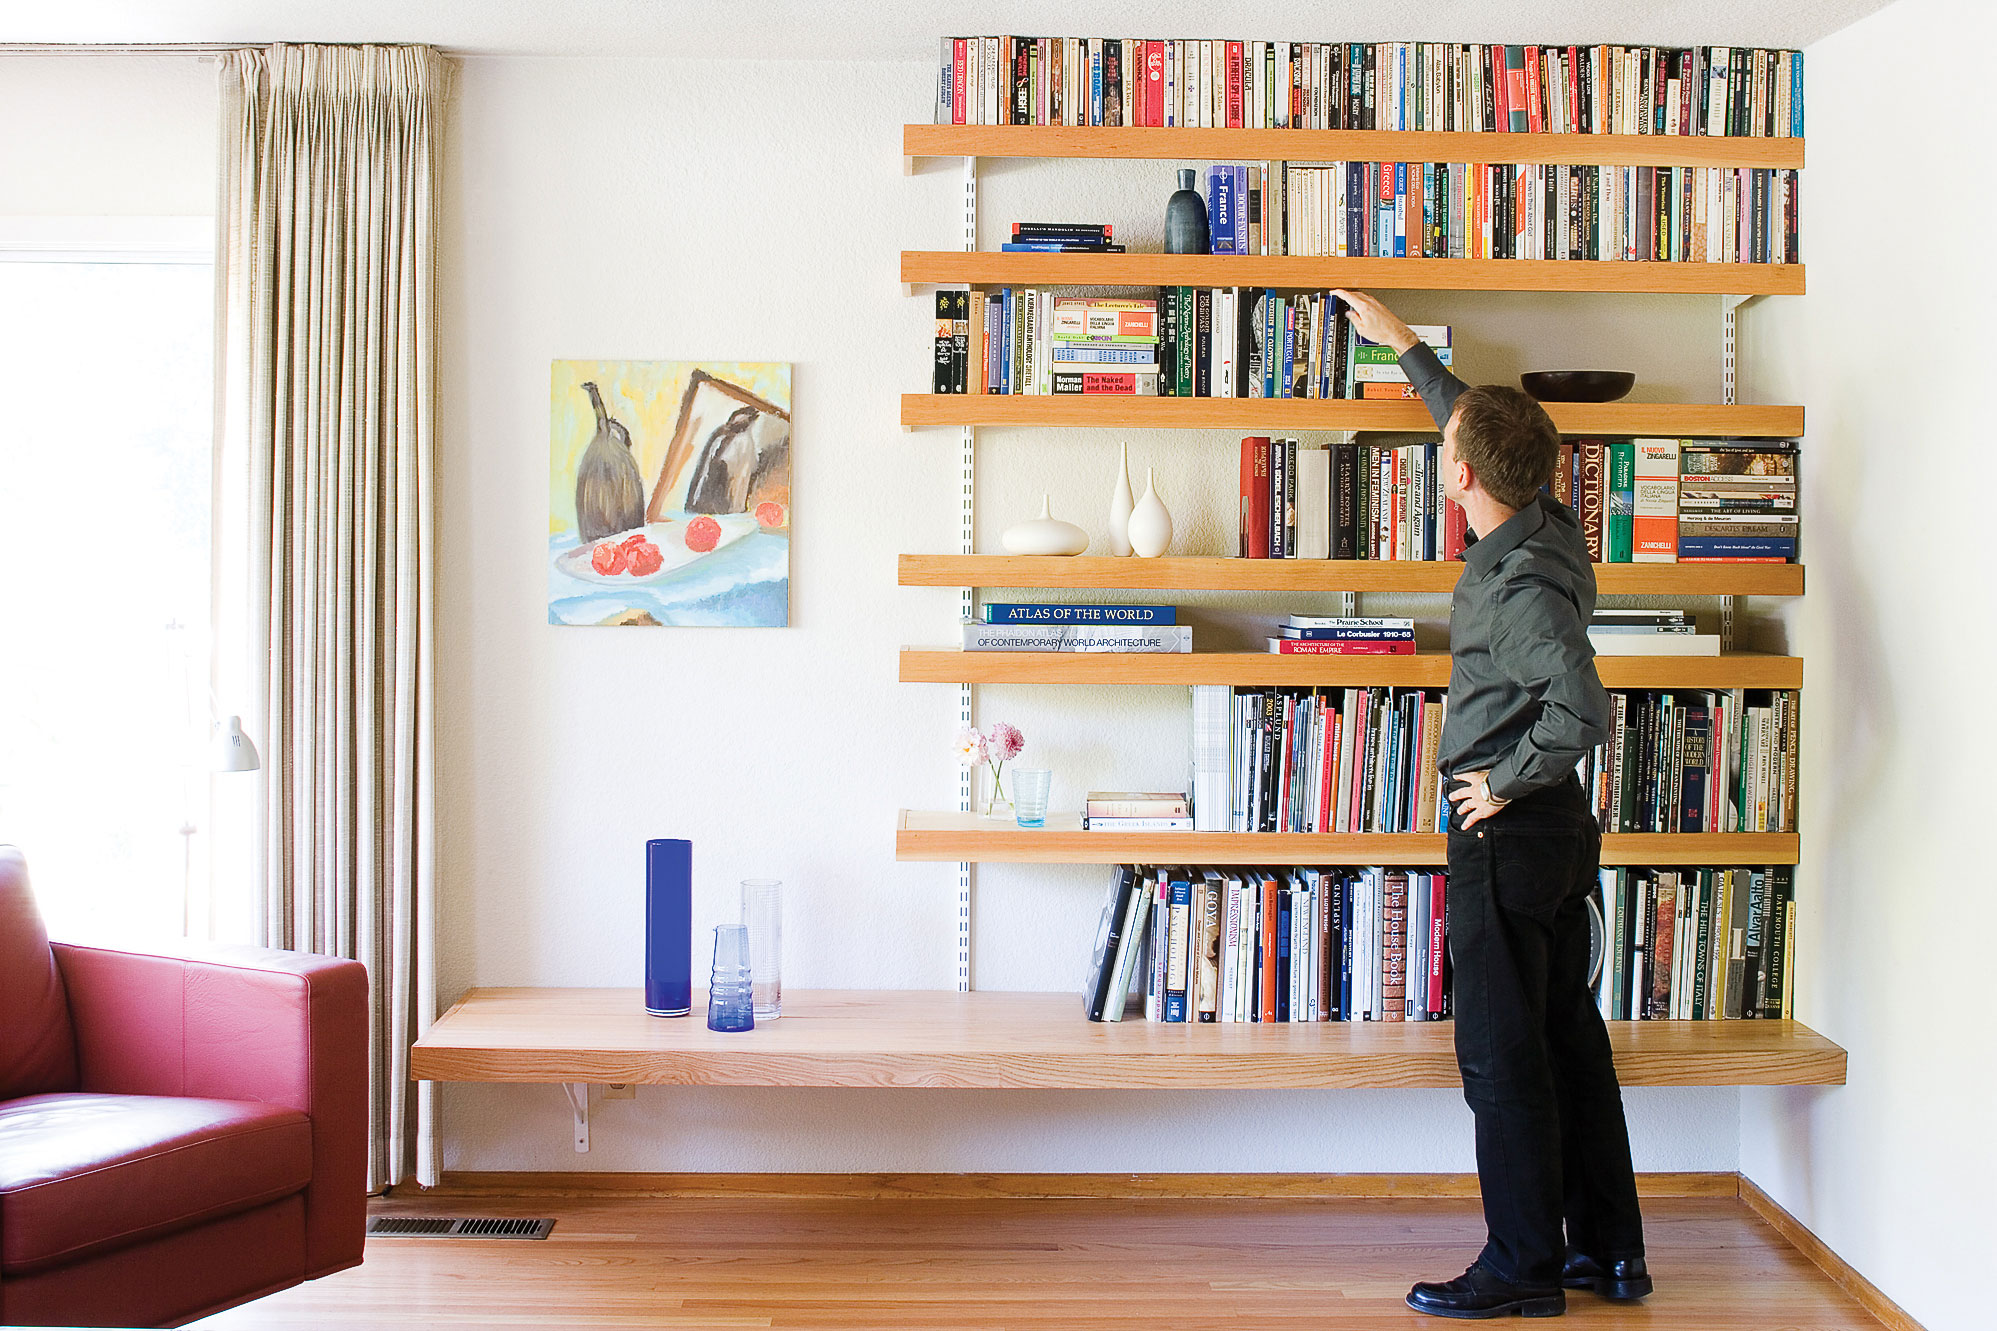
Learn how to build floating shelves and add a touch of style and functionality to your home. This step-by-step guide will take you through the entire process, from gathering materials to installing and customizing your shelves.
With clear instructions and helpful tips, you’ll be able to create beautiful and sturdy floating shelves that will enhance any room in your house.
Materials and Tools: How To Build Floating Shelves
Building floating shelves requires specific materials and tools to ensure a sturdy and aesthetically pleasing outcome. Here’s a detailed list of the essential components you’ll need:
Materials
- Wood:Choose durable and sturdy wood, such as oak, maple, or pine, for the shelves.
- Brackets:Concealed brackets are essential for supporting the shelves without being visible.
- Screws:Use wood screws or drywall screws, depending on the mounting surface.
Tools
- Drill:A power drill is necessary for creating pilot holes and driving screws.
- Saw:A circular saw or miter saw is needed for cutting the wood to the desired length.
- Level:Use a level to ensure the shelves are perfectly horizontal.
- Measuring Tape:A measuring tape is crucial for accurate measurements and spacing.
- Stud Finder:A stud finder helps locate wall studs for secure bracket placement.
Design and Measurements

The design of your floating shelves will depend on the space you have available, the items you want to display, and your personal style. When choosing the length, width, and thickness of your shelves, keep in mind the following:
- Length:The length of your shelves will be determined by the space you have available. If you have a small space, you may want to opt for shorter shelves. If you have a larger space, you can choose longer shelves to create a more dramatic look.
- Width:The width of your shelves will depend on the items you want to display. If you want to display large items, you will need wider shelves. If you want to display smaller items, you can choose narrower shelves.
- Thickness:The thickness of your shelves will affect their strength and durability. Thicker shelves will be able to hold more weight than thinner shelves. However, thicker shelves will also be more expensive.
Once you have chosen the design of your shelves, you need to take accurate measurements to ensure that they are properly placed and supported.
Calculating Spacing Between Brackets
The spacing between your brackets will depend on the weight of the items you want to display. If you are displaying heavy items, you will need to space your brackets closer together. If you are displaying lighter items, you can space your brackets further apart.
Formula for Calculating Spacing Between Brackets:“`Spacing = (Load / (2 x Bracket Strength)) ^ (1/2)“`Where:* Spacing = distance between brackets in inches
- Load = total weight of items to be displayed in pounds
- Bracket Strength = weight capacity of each bracket in pounds
For example, if you are displaying 100 pounds of items and you are using brackets with a weight capacity of 50 pounds each, the spacing between your brackets would be:
“`Spacing = (100 / (2 x 50)) ^ (1/2) = 7.07 inches“`
Installation Process

Installing floating shelves involves careful marking, drilling, and securing of brackets. The method depends on the wall type and weight of the shelves. Common techniques include using drywall anchors, toggle bolts, or mounting into studs.
Mounting Techniques, How to build floating shelves
- Drywall Anchors:Suitable for lightweight shelves on drywall. Insert anchors into pre-drilled holes and screw in brackets.
- Toggle Bolts:Ideal for heavier shelves. Foldable wings expand behind the wall, providing extra support.
- Studs:If possible, locate and mount brackets directly into studs for maximum strength.
Ensuring Level
Using a level is crucial to ensure shelves are hung straight. Place the level on the bracket and adjust until it reads level. This ensures that the shelves will be level when installed.
Customization and Finishing

Unlock your creativity and personalize your floating shelves to match your unique style. From vibrant paint colors to elegant stains, the possibilities are endless.
Explore decorative elements such as molding or carving to add depth and character to your shelves. These embellishments can transform simple shelves into stunning focal points.
Protective Coatings
Enhance the durability and aesthetics of your floating shelves by applying protective coatings like polyurethane or varnish. These finishes create a protective layer that resists scratches, stains, and wear and tear.
Wrap-Up
Building floating shelves is a rewarding project that can add both style and storage to your home. By following the steps Artikeld in this guide, you can create custom shelves that perfectly fit your needs and décor.
