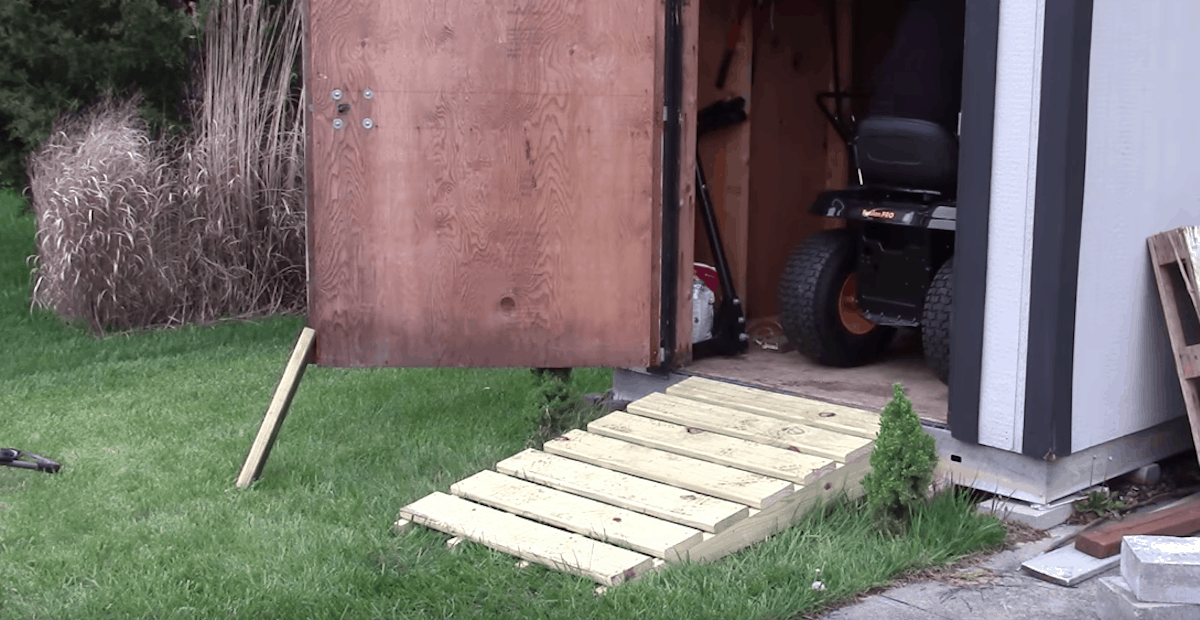
How to build a ramp for a shed – Building a ramp for your shed is a practical project that can enhance accessibility and convenience. Whether you need to move heavy equipment, lawnmowers, or other items, a well-constructed ramp can make the task easier and safer. In this comprehensive guide, we’ll walk you through the entire process, from planning and design to construction and safety considerations.
Planning and Design
Planning and designing a ramp for a shed is a crucial step that sets the foundation for a safe and functional structure. Before embarking on the construction process, it is essential to consider the following key aspects:
Determining the Slope, Width, and Length
- Slope:The slope of the ramp, measured in degrees or as a percentage, determines its steepness. A slope that is too steep can be difficult or dangerous to navigate, while a slope that is too shallow can make the ramp excessively long.
- Width:The width of the ramp should be sufficient to accommodate the largest item that will be transported up or down the ramp. A width of at least 36 inches is recommended for most applications.
- Length:The length of the ramp is determined by its slope and the height of the shed’s threshold. The longer the ramp, the less steep it will be.
Calculating the Necessary Materials
Once the slope, width, and length of the ramp have been determined, the next step is to calculate the necessary materials for its construction. This includes lumber for the ramp’s frame and decking, as well as fasteners such as nails or screws.
The formula for calculating the length of the ramp is: Length = Height ÷ Slope
For example, if the threshold of the shed is 3 feet high and you want a slope of 10%, the length of the ramp would be 30 feet.
The formula for calculating the amount of lumber needed for the ramp’s frame is: Lumber Length = 2 × (Ramp Length + Height)
For example, if the ramp is 30 feet long and the threshold is 3 feet high, the total length of lumber needed for the frame would be 66 feet.
Materials and Tools

Building a sturdy and functional shed ramp requires the right materials and tools. Selecting appropriate materials and having the necessary tools on hand will ensure a successful and efficient construction process.
Lumber
- Pressure-treated lumber:Recommended for outdoor ramps as it resists rot and decay.
- Cedar or redwood:Naturally resistant to rot and insects, but more expensive.
- Pine or fir:Less expensive but may require additional treatment for outdoor use.
Fasteners and Hardware, How to build a ramp for a shed
- Galvanized or stainless steel nails or screws:Resistant to rust and corrosion.
- Carriage bolts:Used to secure the ramp to the shed.
- Lag screws:For heavy-duty connections.
- Washers:Prevent bolts and screws from sinking into the wood.
Tools
- Circular saw or miter saw:For cutting lumber to length.
- Drill and drill bits:For creating pilot holes and driving screws.
- Level:To ensure the ramp is level and stable.
- Measuring tape:For accurate measurements.
- Safety glasses and gloves:For protection during construction.
Step-by-Step Construction
Constructing a shed ramp is a straightforward process that involves meticulous framing, decking installation, and secure attachment to the shed. This step-by-step guide will provide detailed instructions and clear illustrations to ensure a successful outcome.
Framing the Ramp
The ramp’s frame provides the structural support. Begin by cutting the stringers, which are the long, sloped beams that form the ramp’s sides. The stringers should be made of pressure-treated lumber to withstand outdoor elements. Cut the stringers to the desired length and angle, ensuring a gradual slope that allows for easy access to the shed.
Next, cut the joists, which are the cross-members that support the decking. Space the joists evenly along the stringers, securing them with galvanized screws or bolts. The spacing between joists will determine the strength and rigidity of the ramp.
Installing the Decking
Once the frame is complete, it’s time to install the decking. Choose pressure-treated lumber for the decking as well, to ensure durability. Cut the decking boards to the appropriate length and width, then secure them to the joists using galvanized screws or nails.
Ensure the decking boards are evenly spaced and securely fastened.
Securing the Ramp to the Shed
The final step is to securely attach the ramp to the shed. Position the ramp against the shed’s entrance, aligning it carefully. Secure the ramp to the shed’s frame using galvanized bolts or screws. Additionally, consider installing a handrail along the ramp’s edge for added safety and stability.
Safety Considerations

Ensuring safety is paramount when building a shed ramp. Follow these guidelines to prevent accidents and mitigate potential hazards:
Wear appropriate safety gear:Safety glasses, gloves, and sturdy footwear are essential to protect yourself from flying debris, splinters, and slips.
Proper Construction Techniques
Use proper construction techniques:Follow the building plans carefully and use the correct materials and tools. Avoid cutting corners or rushing the process.
Potential Hazards
Identify potential hazards:Before starting construction, assess the work area for potential hazards, such as uneven ground, overhead power lines, or obstacles.
Mitigate hazards:Take steps to mitigate hazards by leveling the ground, marking overhead lines, and removing obstacles.
Closing Notes: How To Build A Ramp For A Shed
By following the steps Artikeld in this guide, you’ll have a sturdy and functional shed ramp that meets your specific needs. Remember to prioritize safety throughout the project and enjoy the added convenience of easy access to your shed.
