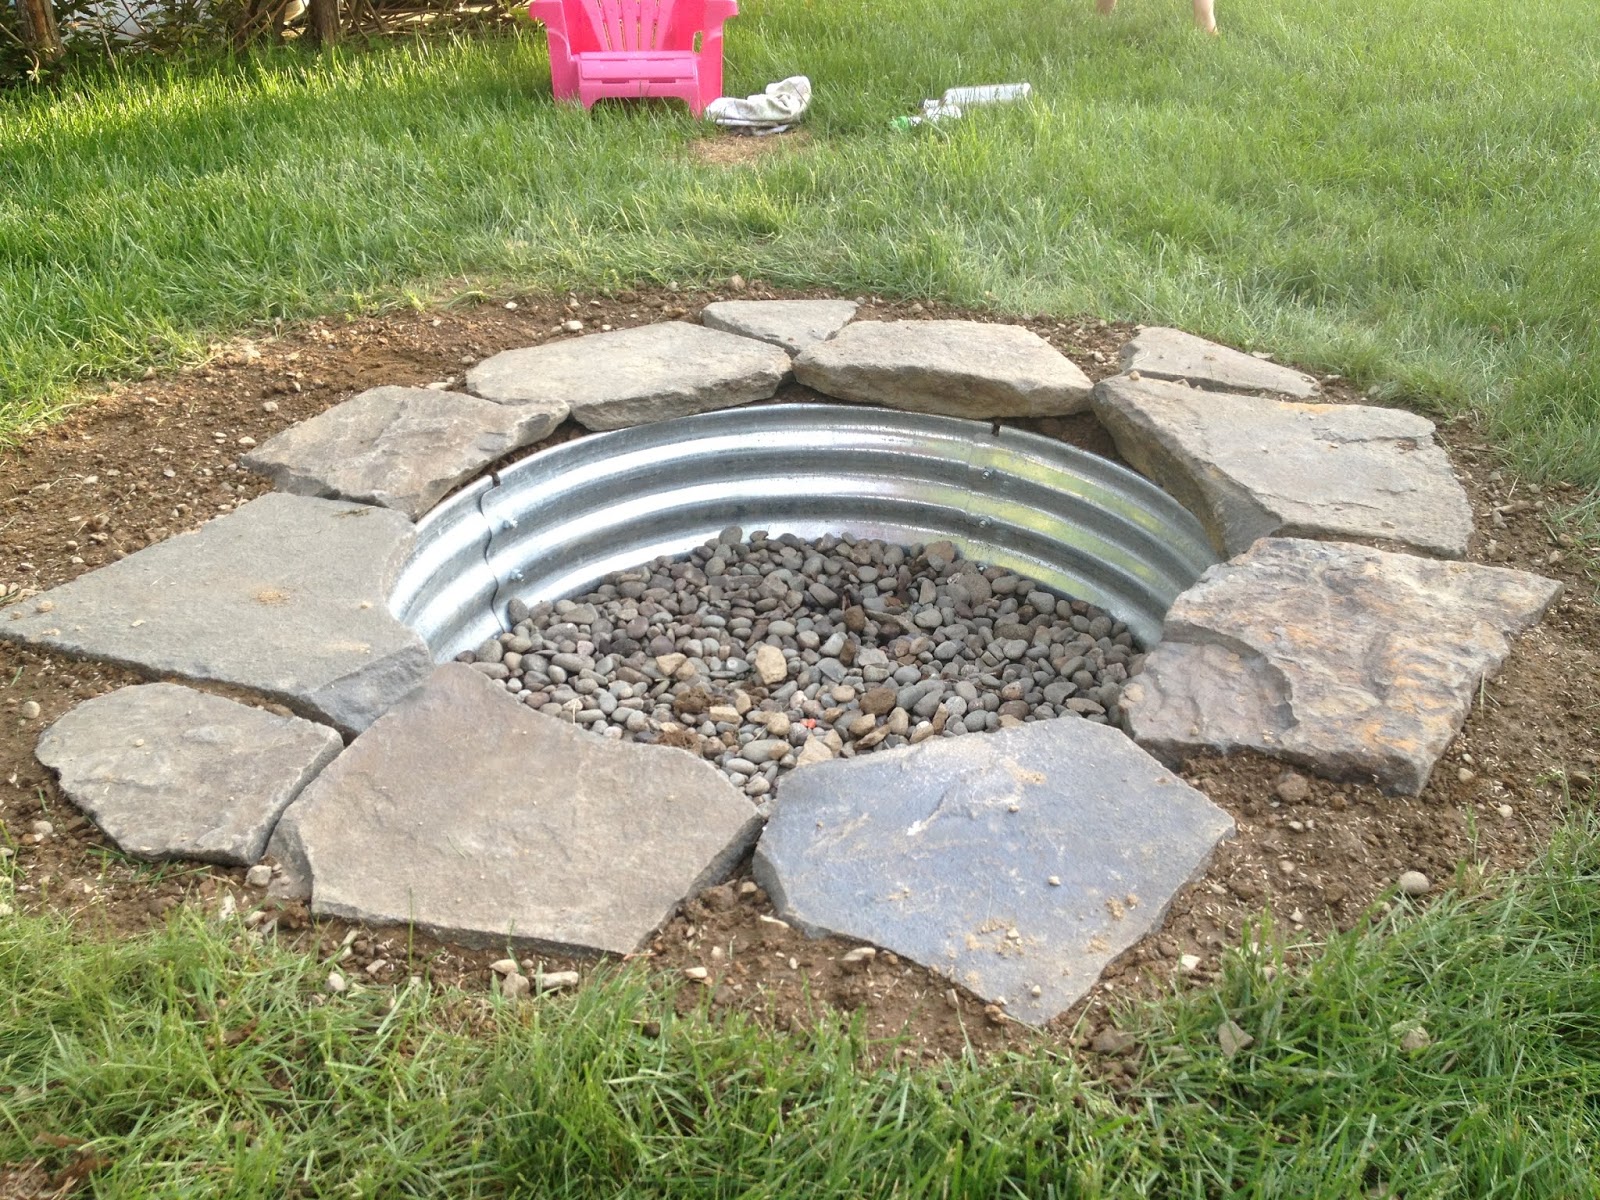
How to build a brick fire pit – Embark on a journey of creating a captivating outdoor ambiance with a brick fire pit. This guide will lead you through the intricacies of selecting materials, preparing the site, constructing the fire pit, and maintaining its longevity, empowering you to create a cherished gathering spot for friends and family.
From selecting the perfect location to adding the finishing touches, we’ll cover every step in detail, ensuring your brick fire pit becomes the centerpiece of your outdoor space.
Materials and Tools

Constructing a brick fire pit requires careful preparation and the right materials. Understanding the specific types of bricks, mortar, and other components, as well as the essential tools for cutting, shaping, and laying the bricks, is crucial for a successful project.
The choice of bricks significantly impacts the durability and aesthetics of the fire pit. Fire bricks, specifically designed to withstand high temperatures, are highly recommended. They come in various shapes and sizes, allowing for customization. Regular bricks, while less heat-resistant, can be used for the outer layer or non-combustion areas.
Mortar
The mortar used to bind the bricks plays a vital role in the fire pit’s stability and longevity. Refractory mortar, specifically formulated for high-temperature applications, is essential. It provides strong adhesion and prevents cracking due to heat expansion.
Tools
The following tools are essential for cutting, shaping, and laying the bricks:
- Brick chisel: For splitting and shaping bricks.
- Brick hammer: For striking the chisel and setting bricks.
- Level: For ensuring a level base and even rows.
- Tape measure: For accurate measurements.
- Masonry trowel: For applying and spreading mortar.
- Safety glasses: For eye protection.
Site Preparation and Layout: How To Build A Brick Fire Pit

Choosing the right location for your fire pit is crucial for safety and functionality. Select a spot that’s away from flammable structures, trees, and overhanging branches. Ensure it’s in an open area with good airflow to prevent smoke buildup.
Preparing the Site
Level the ground where the fire pit will be located using a shovel or a level. Dig a shallow pit, about 6 inches deep, to accommodate the base of the fire pit. Fill the pit with gravel or crushed stone to create a stable and well-draining base.
Laying Out the Bricks
Determine the desired size and shape of your fire pit. Use a string or rope to mark the Artikel on the prepared site. Arrange the bricks according to the chosen pattern, ensuring they are level and fit snugly together. Check the dimensions and make adjustments as needed before proceeding to the next step.
Building the Fire Pit

The construction of the fire pit entails a methodical approach to laying the bricks, utilizing mortar for adhesion, and employing precise cutting and shaping techniques. Different bonding patterns and techniques are employed to ensure the stability and durability of the fire pit walls.
Laying the Bricks, How to build a brick fire pit
The first step involves establishing a level base upon which the first layer of bricks will be laid. Using a trowel, mortar is applied to the base and the bricks are carefully placed, ensuring alignment and a uniform spacing between them.
Subsequent layers are added in a similar manner, with each brick overlapping the joints of the layer below to create a stable structure.
Mixing and Applying Mortar
The mortar used for bonding the bricks is typically a mixture of cement, sand, and water. The ratio of these ingredients can vary depending on the specific requirements of the project. To achieve a workable consistency, water is gradually added while mixing the ingredients until the mortar becomes pliable and easy to spread.
Cutting and Shaping Bricks
In certain instances, it may be necessary to cut or shape bricks to accommodate specific design elements or to fit irregular spaces. This can be achieved using a brick cutter or a masonry saw. When cutting bricks, it is important to score the brick along the desired cut line and then apply gentle pressure to snap it apart.
Bonding Patterns and Techniques
The choice of bonding pattern for the fire pit walls influences both the aesthetic appeal and structural integrity of the construction. Common bonding patterns include running bond, stack bond, and herringbone pattern. Each pattern involves a specific arrangement of bricks, with variations in the overlap and alignment of the joints.
Finishing and Maintenance
Once the fire pit is constructed, it’s time to finish it off and ensure its longevity. This involves adding a cap or coping, sealing it to protect it from the elements, and implementing regular maintenance practices.
Finishing the Fire Pit
Adding a cap or coping to the fire pit not only enhances its appearance but also provides a protective layer against moisture and debris. Capstones are typically made of durable materials like concrete or stone, while coping is a type of brick or stone that overhangs the edge of the fire pit, creating a decorative and functional border.
Sealing the Fire Pit
Sealing the fire pit is crucial for protecting it from water damage, which can lead to cracks and deterioration. Use a high-temperature sealant specifically designed for fire pits. Apply the sealant to the interior surfaces of the fire pit, including the walls, floor, and coping, following the manufacturer’s instructions.
Regular Maintenance
Regular maintenance is essential to keep the fire pit in good condition and extend its lifespan. After each use, allow the fire pit to cool completely before cleaning it. Remove any ashes or debris using a fire pit shovel or brush.
Inspect the fire pit regularly for any cracks or damage and address them promptly to prevent further deterioration.
Outcome Summary

With the completion of your brick fire pit, you now possess a beautiful and functional outdoor feature that will enhance your gatherings and create lasting memories. Remember to follow the maintenance tips provided to keep your fire pit in pristine condition, ensuring years of enjoyment.
