Transform your damaged fiberglass bathtub into a gleaming oasis with the remarkable fiberglass bathtub repair kit. Embark on a journey of rejuvenation, where every step brings your bathtub closer to its former glory.
Our comprehensive guide will empower you with the knowledge and techniques to tackle any bathtub repair challenge, leaving you with a renewed sense of pride in your bathroom sanctuary.
Fiberglass Bathtub Repair Kit Types
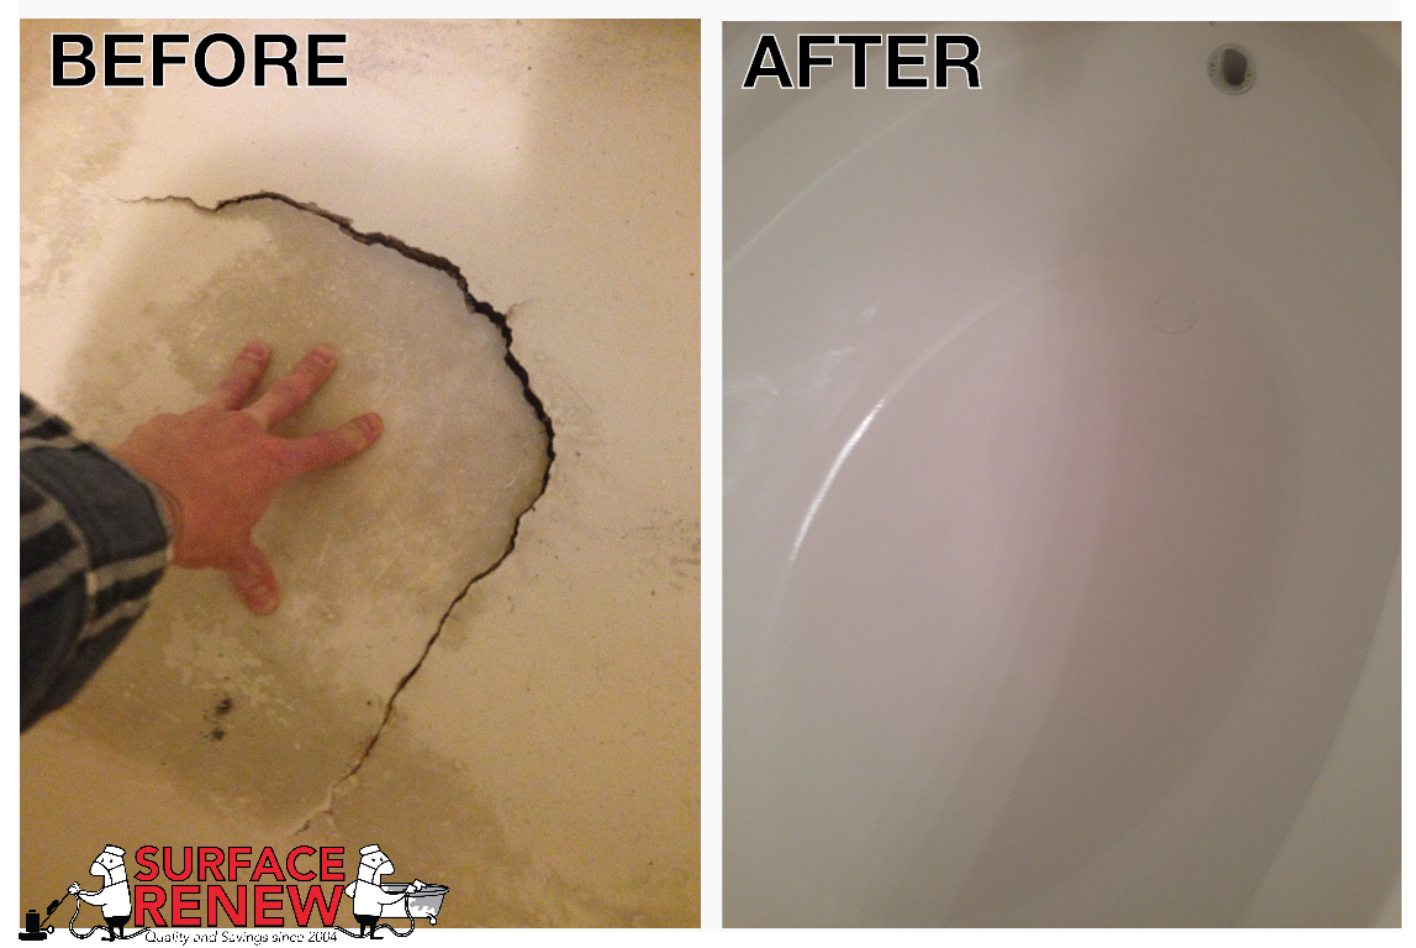
Fiberglass bathtub repair kits come in various types, each with its advantages and disadvantages. Understanding these differences helps in choosing the most suitable kit for a specific repair.
Liquid Resin Kits
- Description:Liquid resin kits contain a resin and a hardener that, when mixed, form a durable, waterproof bond.
- Advantages:Strong adhesion, versatile for various repairs, cost-effective.
- Disadvantages:Requires careful mixing, longer curing time, can be messy.
- Example:Loctite Super Glue Plastic Bonding System.
- Recommended Uses:Cracks, chips, holes, and other minor damage.
Patch Kits
- Description:Patch kits include a pre-cut patch made of fiberglass or similar material.
- Advantages:Easy to apply, quick curing, creates a smooth finish.
- Disadvantages:May not be suitable for large repairs, limited color options.
- Example:JB Weld PlasticWeld Epoxy Putty Stick.
- Recommended Uses:Small cracks, chips, and surface imperfections.
Epoxy Kits
- Description:Epoxy kits contain a two-part epoxy that forms a strong, chemical-resistant bond.
- Advantages:High strength, waterproof, durable, excellent adhesion.
- Disadvantages:More expensive, requires careful mixing, can be difficult to sand and finish.
- Example:MarineTex Epoxy Adhesive.
- Recommended Uses:Structural repairs, large cracks, and areas exposed to water or chemicals.
Fiberglass Bathtub Repair Kit Application
Fiberglass bathtub repair kits provide a cost-effective and durable solution for restoring damaged bathtubs. Applying the kit requires careful preparation and proper technique to ensure a successful repair.
Surface Preparation
Before applying the repair material, it is crucial to prepare the bathtub surface thoroughly. Clean the area around the damage with a degreaser and abrasive cleaner to remove dirt, oil, and loose paint. Rinse the surface with water and allow it to dry completely.
Mixing and Application
The repair material typically comes in two parts: a resin and a hardener. Mix the two components according to the manufacturer’s instructions, ensuring a thorough blend. Apply the mixture to the damaged area using a putty knife or spatula, smoothing it out evenly.
If the damage is deep, apply multiple layers, allowing each layer to dry before applying the next.
Curing Process
The repair material undergoes a curing process, which involves chemical bonding and hardening. The curing time varies depending on the product, typically ranging from several hours to a day. During this time, it is essential to avoid using the bathtub or applying pressure to the repaired area.
Post-Application Steps
Once the repair material has cured, sand the surface smooth to remove any rough edges or excess material. Use fine-grit sandpaper and work gradually to avoid damaging the surrounding area. Finally, clean the bathtub thoroughly and apply a protective sealant or paint to protect the repair and enhance its durability.
Fiberglass Bathtub Repair Kit Features
Choosing the right fiberglass bathtub repair kit is crucial to ensure a successful and long-lasting repair. Several key features should be considered when selecting a kit, including durability, adhesion, and color matching.
Durabilityis essential for ensuring the repair can withstand daily use and wear and tear. Look for kits that use high-quality materials and offer a strong bond that will not crack or peel over time.
Adhesion
The adhesion of the repair kit is critical for ensuring a secure bond between the patch and the bathtub surface. Choose kits that use strong adhesives specifically designed for fiberglass surfaces. These adhesives should be able to withstand moisture and temperature fluctuations without losing their grip.
Color Matching, Fiberglass bathtub repair kit
Color matching is important for achieving an aesthetically pleasing repair that blends seamlessly with the existing bathtub surface. Kits with a wide range of color options allow you to find the perfect match for your bathtub, ensuring an invisible repair.
Different fiberglass bathtub repair kits offer varying features and are suitable for different repair needs. Some kits may be designed for small repairs, while others are more suitable for larger cracks or holes. Consider the extent of the damage and choose a kit that is appropriate for the job.
Fiberglass Bathtub Repair Kit Troubleshooting

Fiberglass bathtub repair kits are generally easy to use, but certain issues may arise during the repair process. Understanding and addressing these problems promptly can ensure a successful and durable repair.
Common problems that may occur include leaks, cracks, and improper adhesion. Identifying the cause of the problem and applying the appropriate solution is crucial to prevent further damage and ensure the longevity of the repair.
Identifying and Fixing Leaks
Leaks can occur due to improper sealing or damage to the bathtub surface. To identify the source of the leak, fill the bathtub with water and inspect for any visible water seepage. Once the leak is located, clean and dry the area thoroughly.
For small leaks, apply a layer of fiberglass resin over the affected area. For larger leaks, use a fiberglass patch kit to create a stronger seal. Ensure that the patch is properly sized and applied according to the manufacturer’s instructions.
Repairing Cracks
Cracks in the fiberglass bathtub can be caused by impact or stress. To repair a crack, clean and dry the area thoroughly. Use a fiberglass repair kit that includes a resin and a hardener. Mix the resin and hardener according to the instructions and apply it to the crack using a putty knife or brush.
Allow the resin to cure completely before using the bathtub. If the crack is deep or extensive, it may be necessary to reinforce the repair with fiberglass cloth or tape.
Preventing Future Problems
To prevent future problems with your repaired bathtub, follow these tips:
- Clean the bathtub regularly with mild soap and water.
- Avoid using harsh chemicals or abrasive cleaners.
- Do not drop heavy objects into the bathtub.
- Repair any cracks or leaks promptly to prevent further damage.
- Inspect the bathtub periodically for any signs of wear or damage.
Last Point

With the fiberglass bathtub repair kit as your trusty ally, you’ve successfully breathed new life into your bathtub. Its pristine surface and restored functionality will add a touch of elegance to your daily routine, making every bath or shower an experience to cherish.